Exercise brief
Aim
When describing the form of the figure and creating the illusion of three dimensions on a two-dimensional plane, it’s useful to think in simple basic shapes: squares, rectangles, triangles, circles and ellipses. The head is a sphere, the torso, arms and legs are cylinders, and the feet and hands are ellipses.
For this exercise, you are making quick studies, looking at the basic shapes of the figure. You’ll get a chance to look at detail later in the course. When looking at the model, look at the large masses - the torso, legs, and so on. Try to catch key details like the tilt of the head and hips rather than the eyes, fingers, toes, and so on. The first few drawings will be relatively simple but should carry enough information for you to fix the general pose with some accuracy.
Method
Familiarise yourself with the figure and composition by making some quick preliminary sketches in charcoal or graphite. First, draw five two minute sketches of the model in your sketchbook, paying particular attention to the proportions and just using the basic lines that describe the figure.
Having something in the background helps identify the space and will help you place the figure so that it doesn’t appear to be floating in space. Position yourself so that you’re facing the model with an interesting viewpoint.
After completing the five two minute sketches (or more if you want), produce two larger 10 minute drawings. Be free in your use of medium and don’t erase any incorrect lines. Keep drawing over and over until the lines and marks begin to work.
Use a mixture of line and tone to establish the basic shapes of the figure - trunk, limbs, head - and how they relate to one another. This isn’t easy, so be prepared to erase and edit as you work. Keep stepping back from your work to compare the drawing with the figure as a whole and be prepared to radically revise your work. Common faults are to make the head too big, the legs too short and the hands and feet too small. Keep your marks loose and light to start with; as the image begins to come together you can begin to fix a few of the key areas.
Make one more drawing, taking a little longer - approximately 20 minutes.
Tip: Scaling up
When scaling up the size of the page, consider scaling up the media too. Use a thicker piece of charcoal, a bigger brush, or a softer pencil that leaves a blacker, thicker mark. This will help to preserve the energy captured in small quick sketches. You may find that you have to scale up your gestures too. Drawing from the elbow and shoulder rather than the fingers and wrist.
Do some more drawings of this pose, moving to a different position and changing your drawing medium. Try oil sticks, charcoal, conté sticks, pens, ink and brush.
Make written notes in your learning log about the planes and shapes of the body and about any challenges you experience with measuring or media.
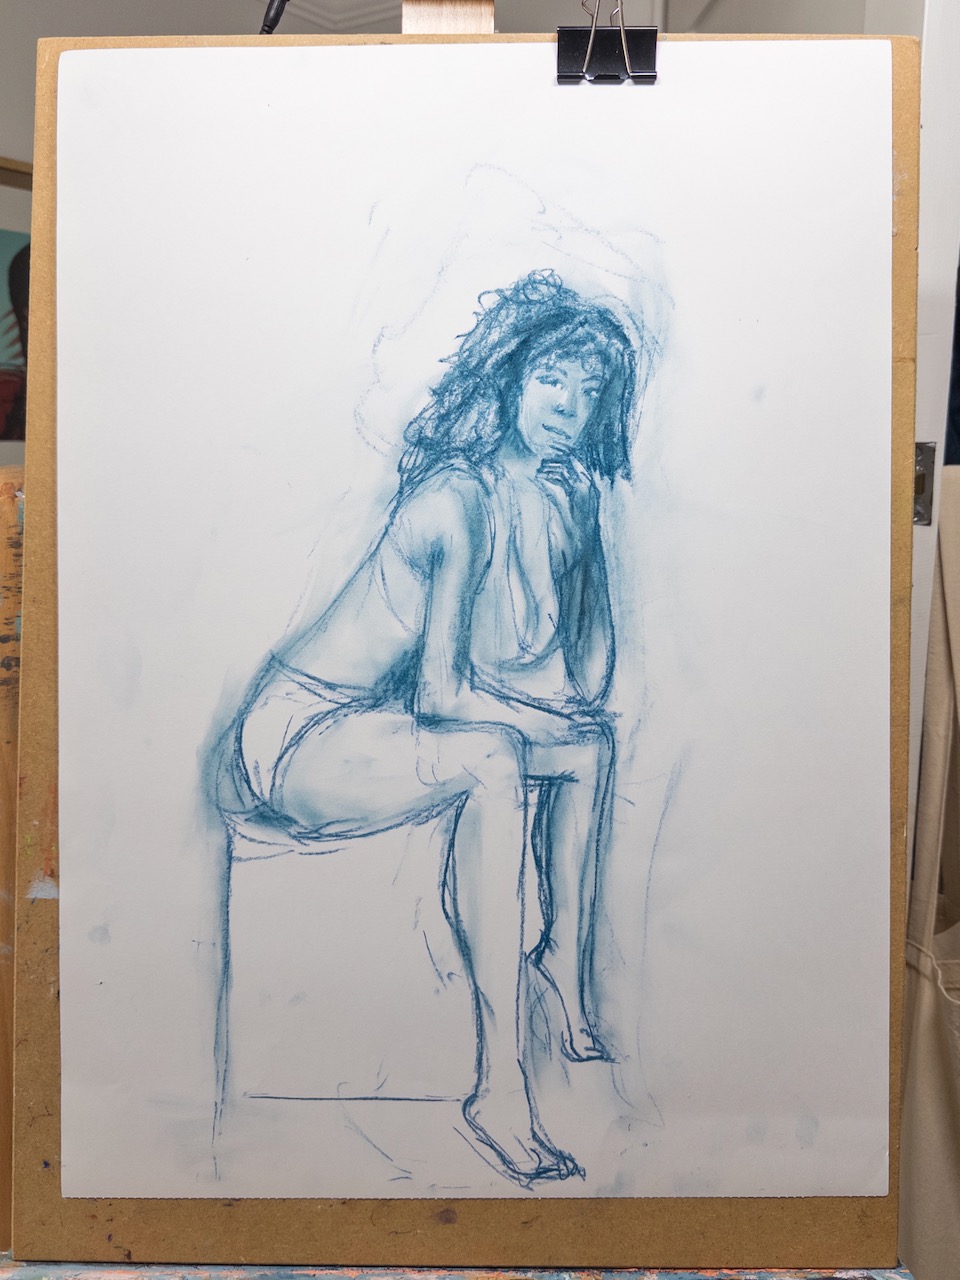
Arrange your model at a slight angle in a chair. Establish that they will be comfortable to sit in this pose for an hour or so (with breaks). Before you begin your drawing consider the angle of the central axis that runs through the seated figure. Notice any twists or bends.
Block in the basic shapes and don’t get bogged down in detail. Look carefully at which planes of the body are receding and which planes or lines are parallel to the edge of your picture plane. This will help you establish the bulk of the drawn figure in relation to the space around it. Blocking in the figure should also help you situate the drawing on the page.
Identify a measured unit that will help with the scale and proportions of the figure. Draw the model from different angles and positions. Remember to look and measure with each pose. Another way to measure is to use the negative space that surrounds the model to act as a ‘check’. It may be that you can see space between arms and the torso; drawing this can help, too.
Identify the possibility of foreshortening and make written notes. Foreshortening is what happens when things like arms or legs (which you know are long) appear short because they are pointing towards or away from you. Is there more than one line of movement? The torso may have a slight twist to it.Getting started
The figure is one of my favourite subjects and yet it requires so much practice. I am trying to keep going at it with the odds practice here and there, slowly making my way through Nicolaide’s Natural Way to Draw. The instructions in the book are somehow at odds with the current exercise prompt as Nicolaides’ invite us to ignore proportion in the beginning and focus instead on drawing as the recording of an experience. Students are invited to alternate slow blind contour and blind cross-contour drawings while searching for the sensation that the pencil “touches” the model and one-minute gestural drawings where the aim is to feel the energy of the pose through drawing. I have completed the first practice schedule (15 hours) and I have started the second. I think there are 25 schedules in total. All of this to say I am trying hard not to grow too despondent when I am unability to render form and proportion accurately!
Step 1. Quick sketches
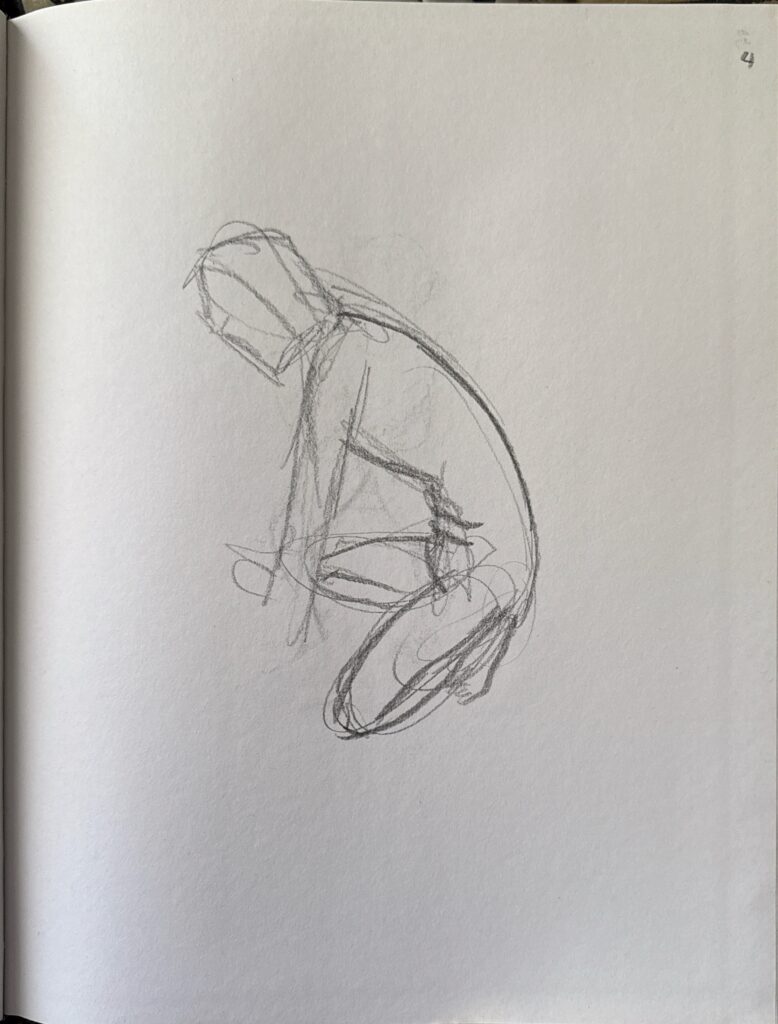
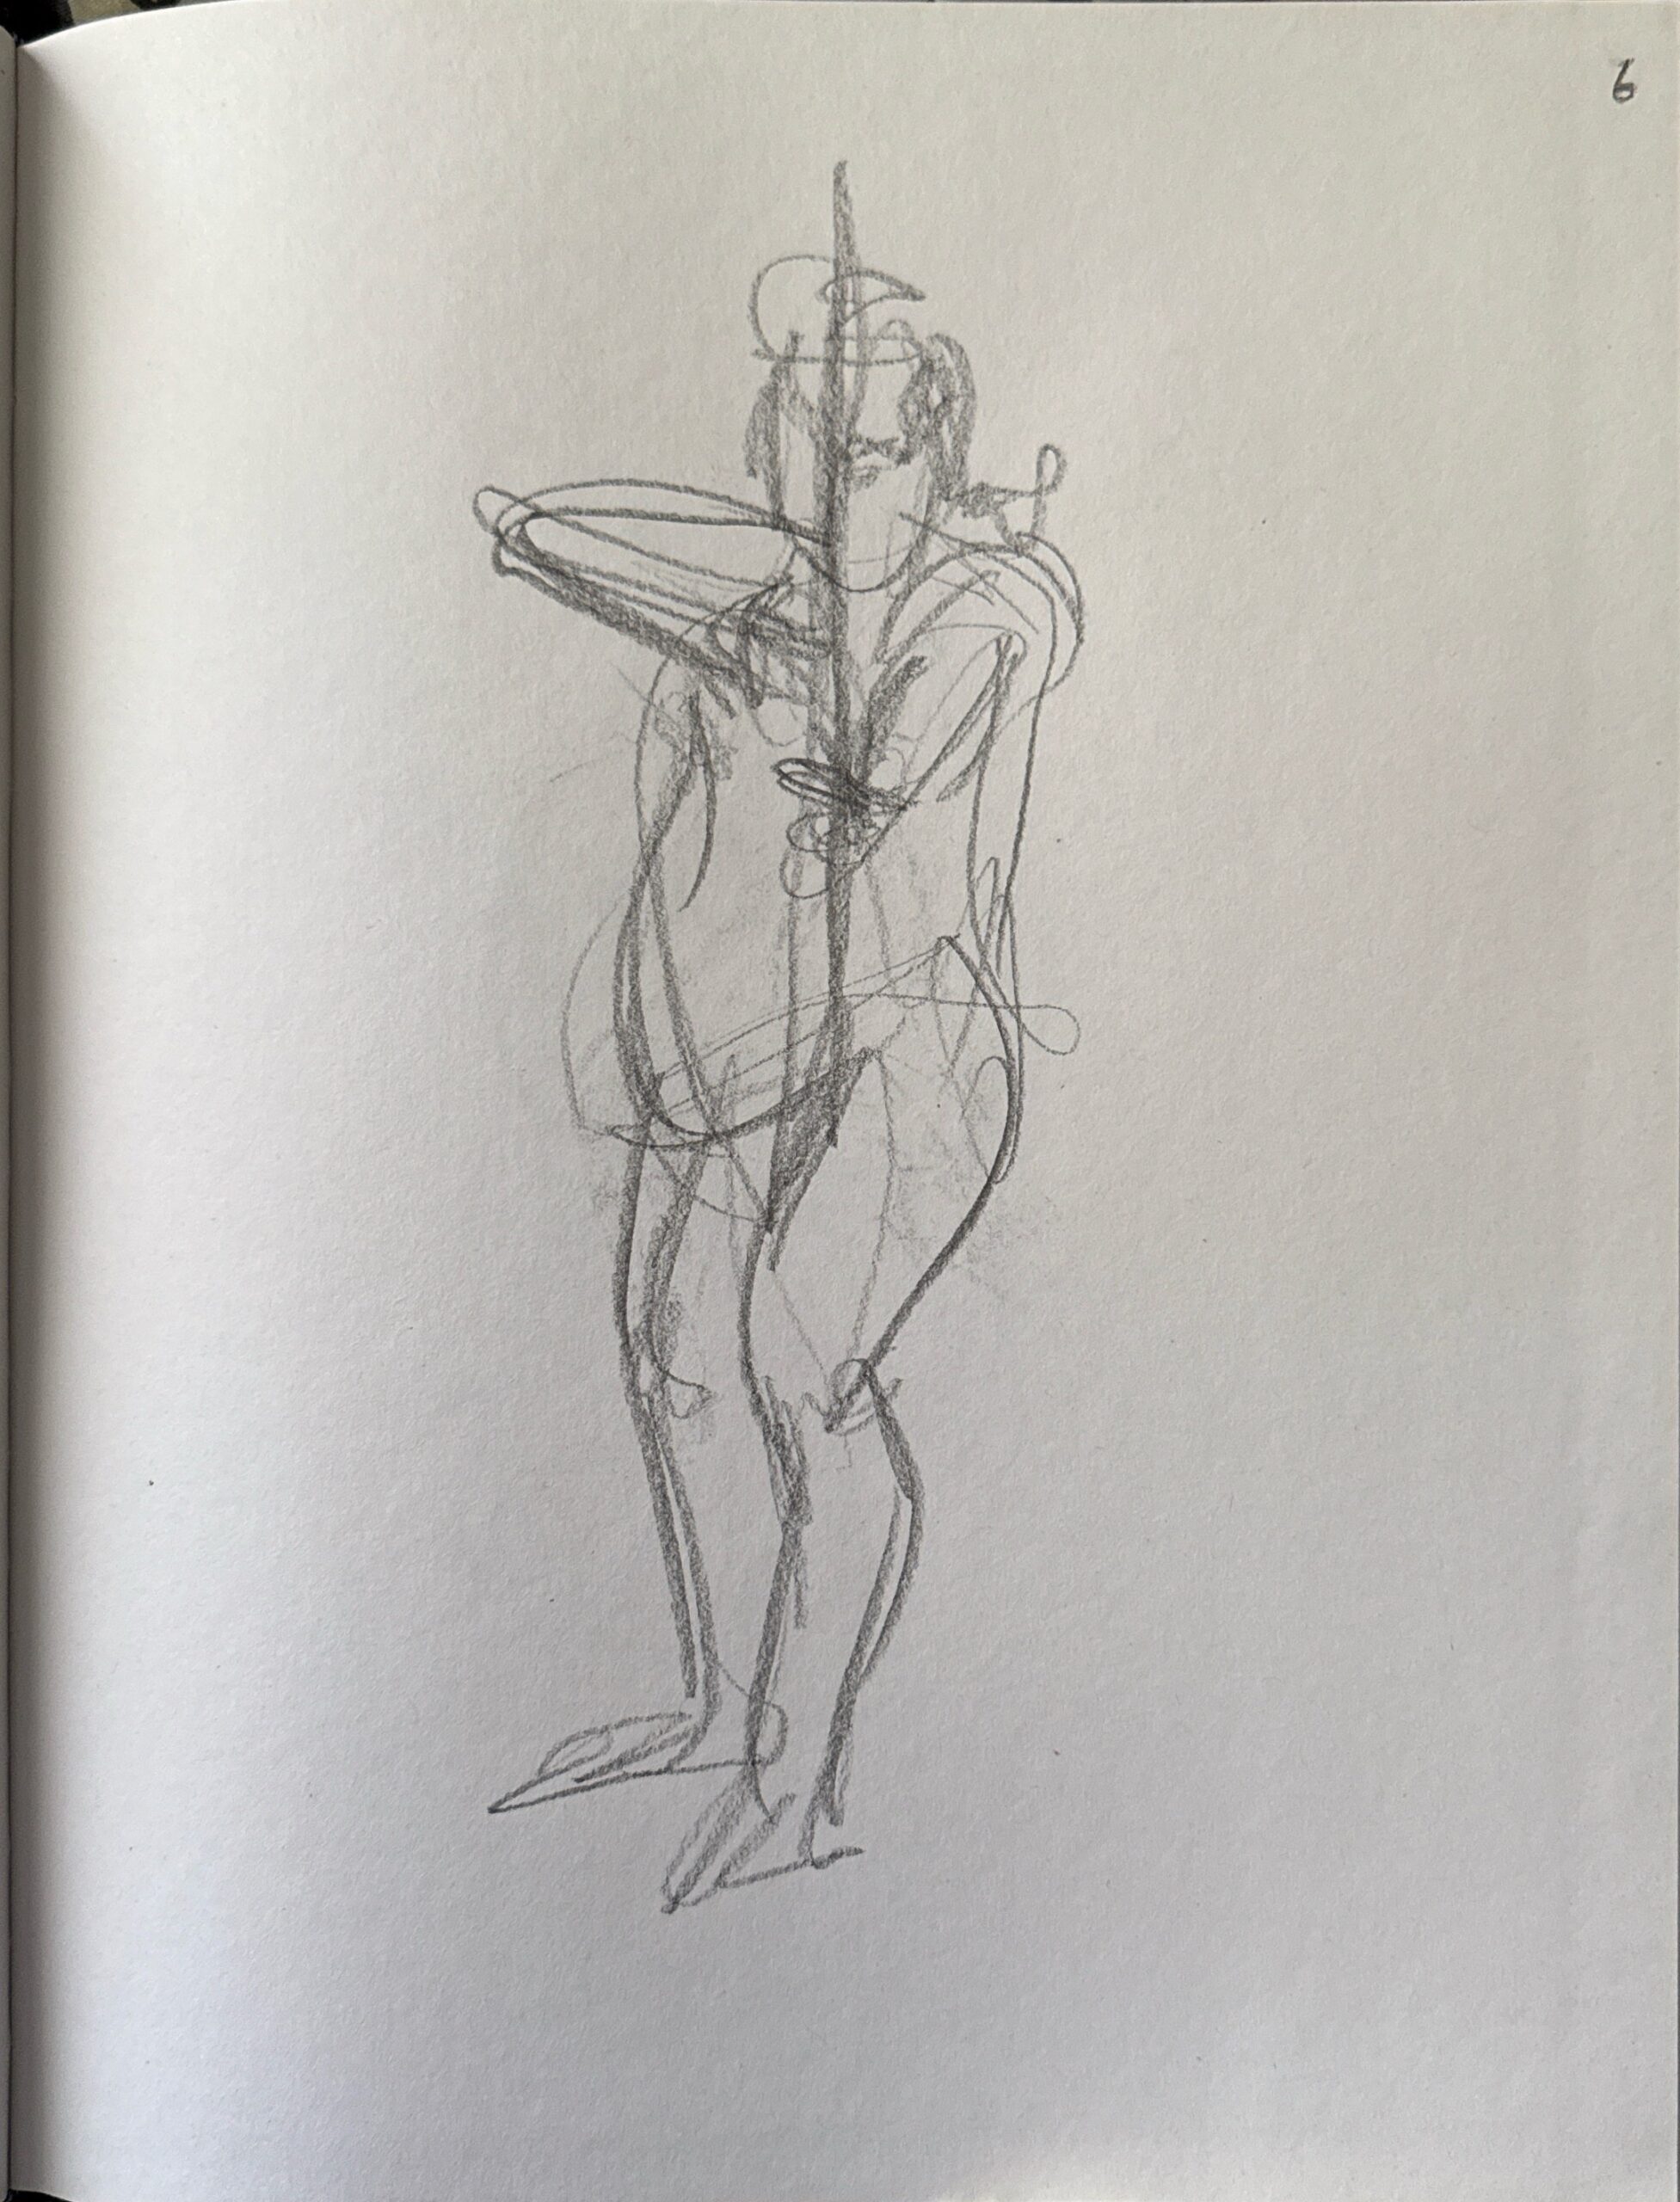
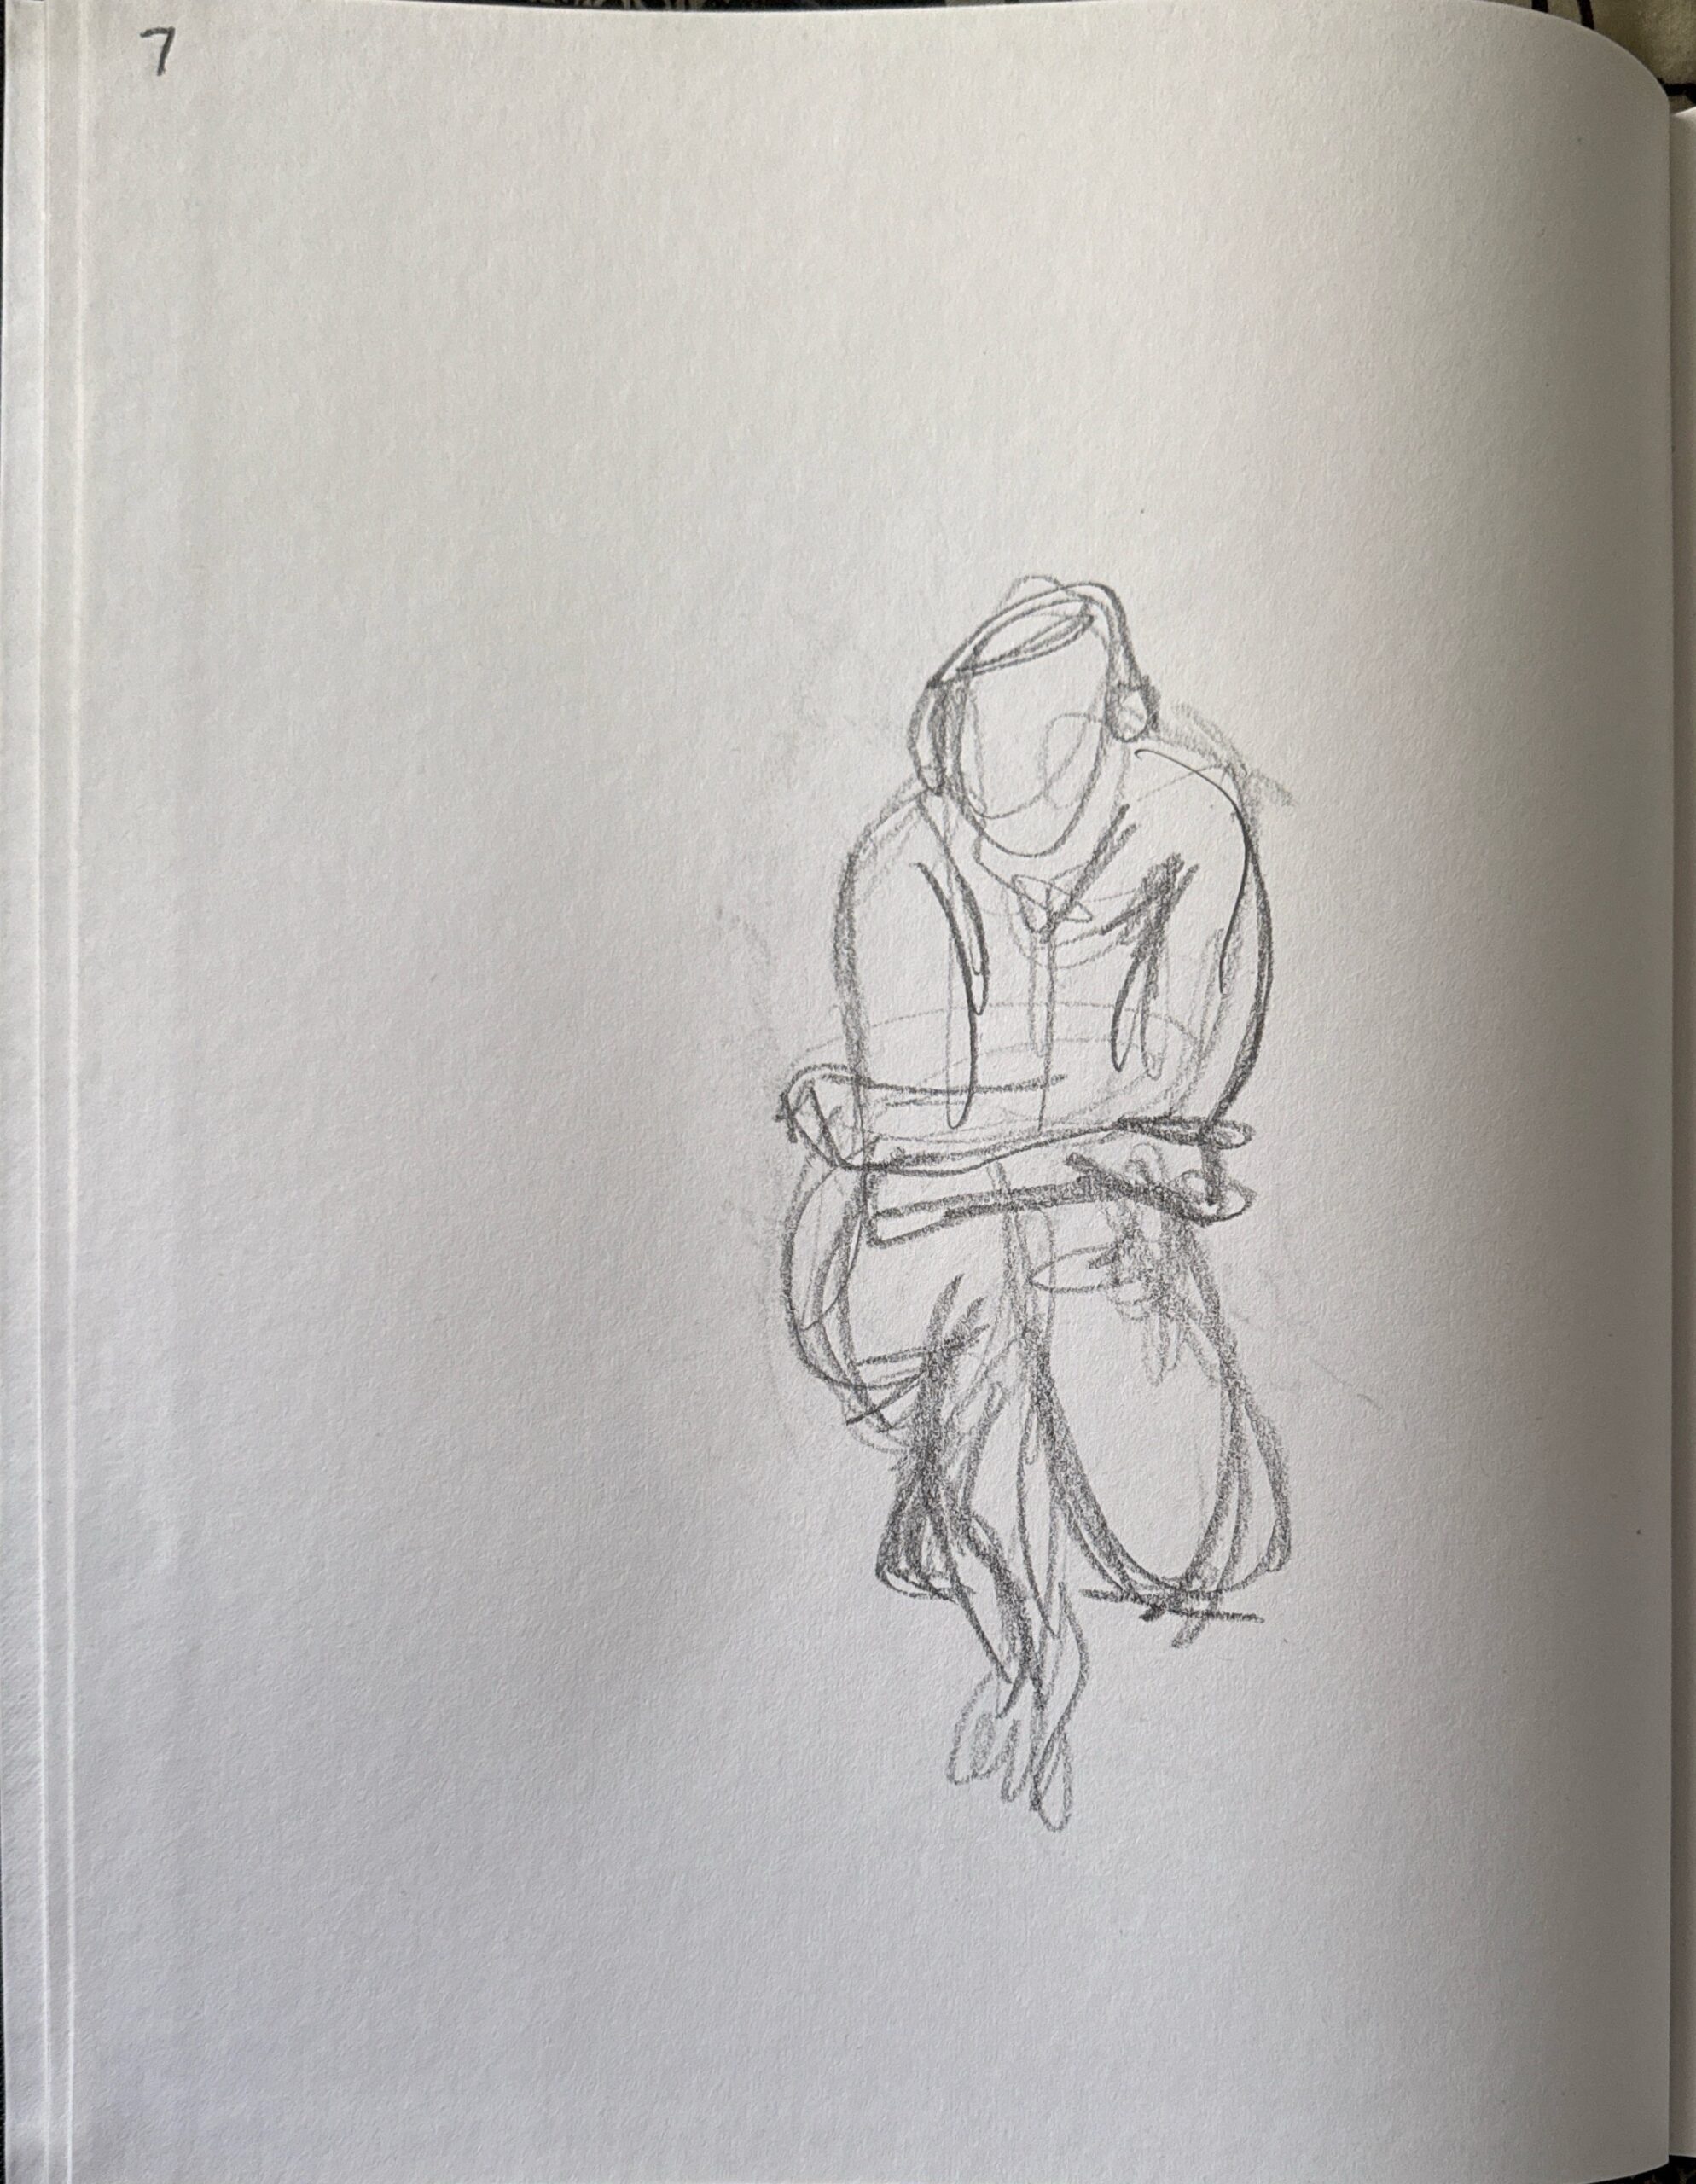


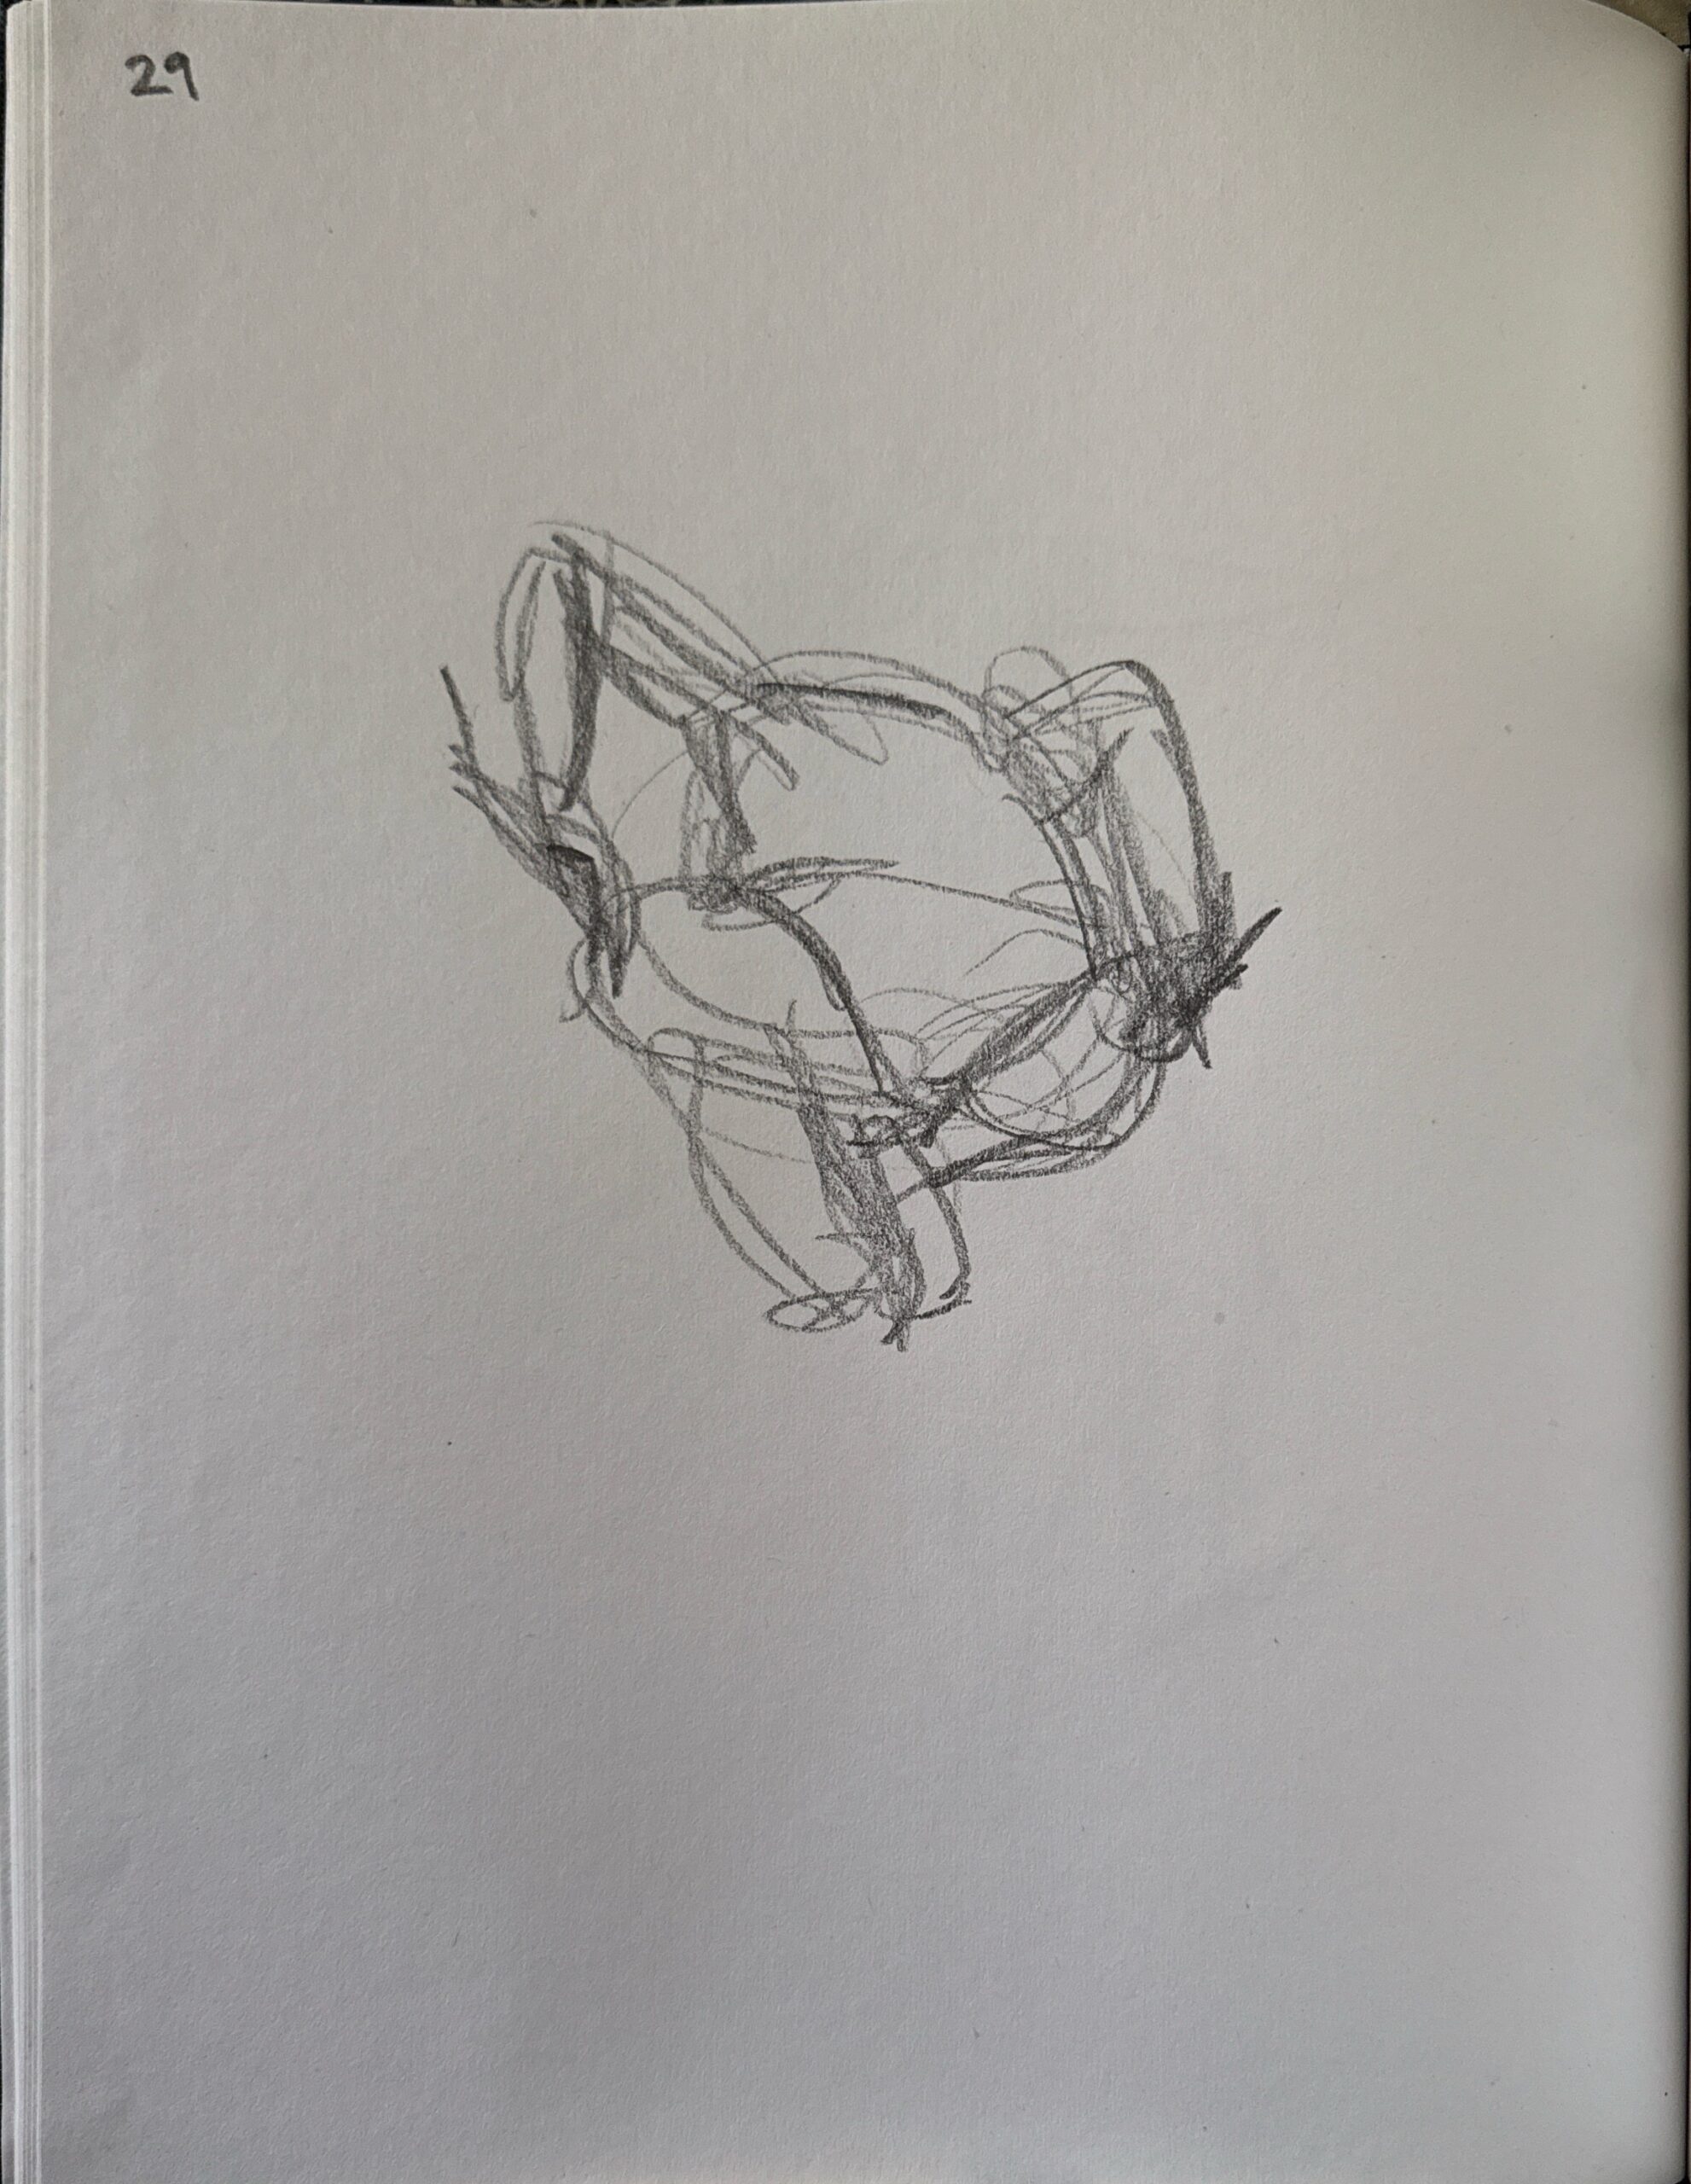
For this warm-up, I used the website line of action and projected it on my TV screen to blow the picture up a little bit. I used a 4B graphite pencil on an A2 sketchbook and a 1-minute setting. My aim was to capture the pose through the gestural scribbling. I really enjoy this practice. Not all drawings are successful but I often find them pleasing enough and I think you can guess the pose. The fast pace also works well to keep me in an intuitive mode and stopping me for overthinking the marks.
Step 2. 10-minute drawings

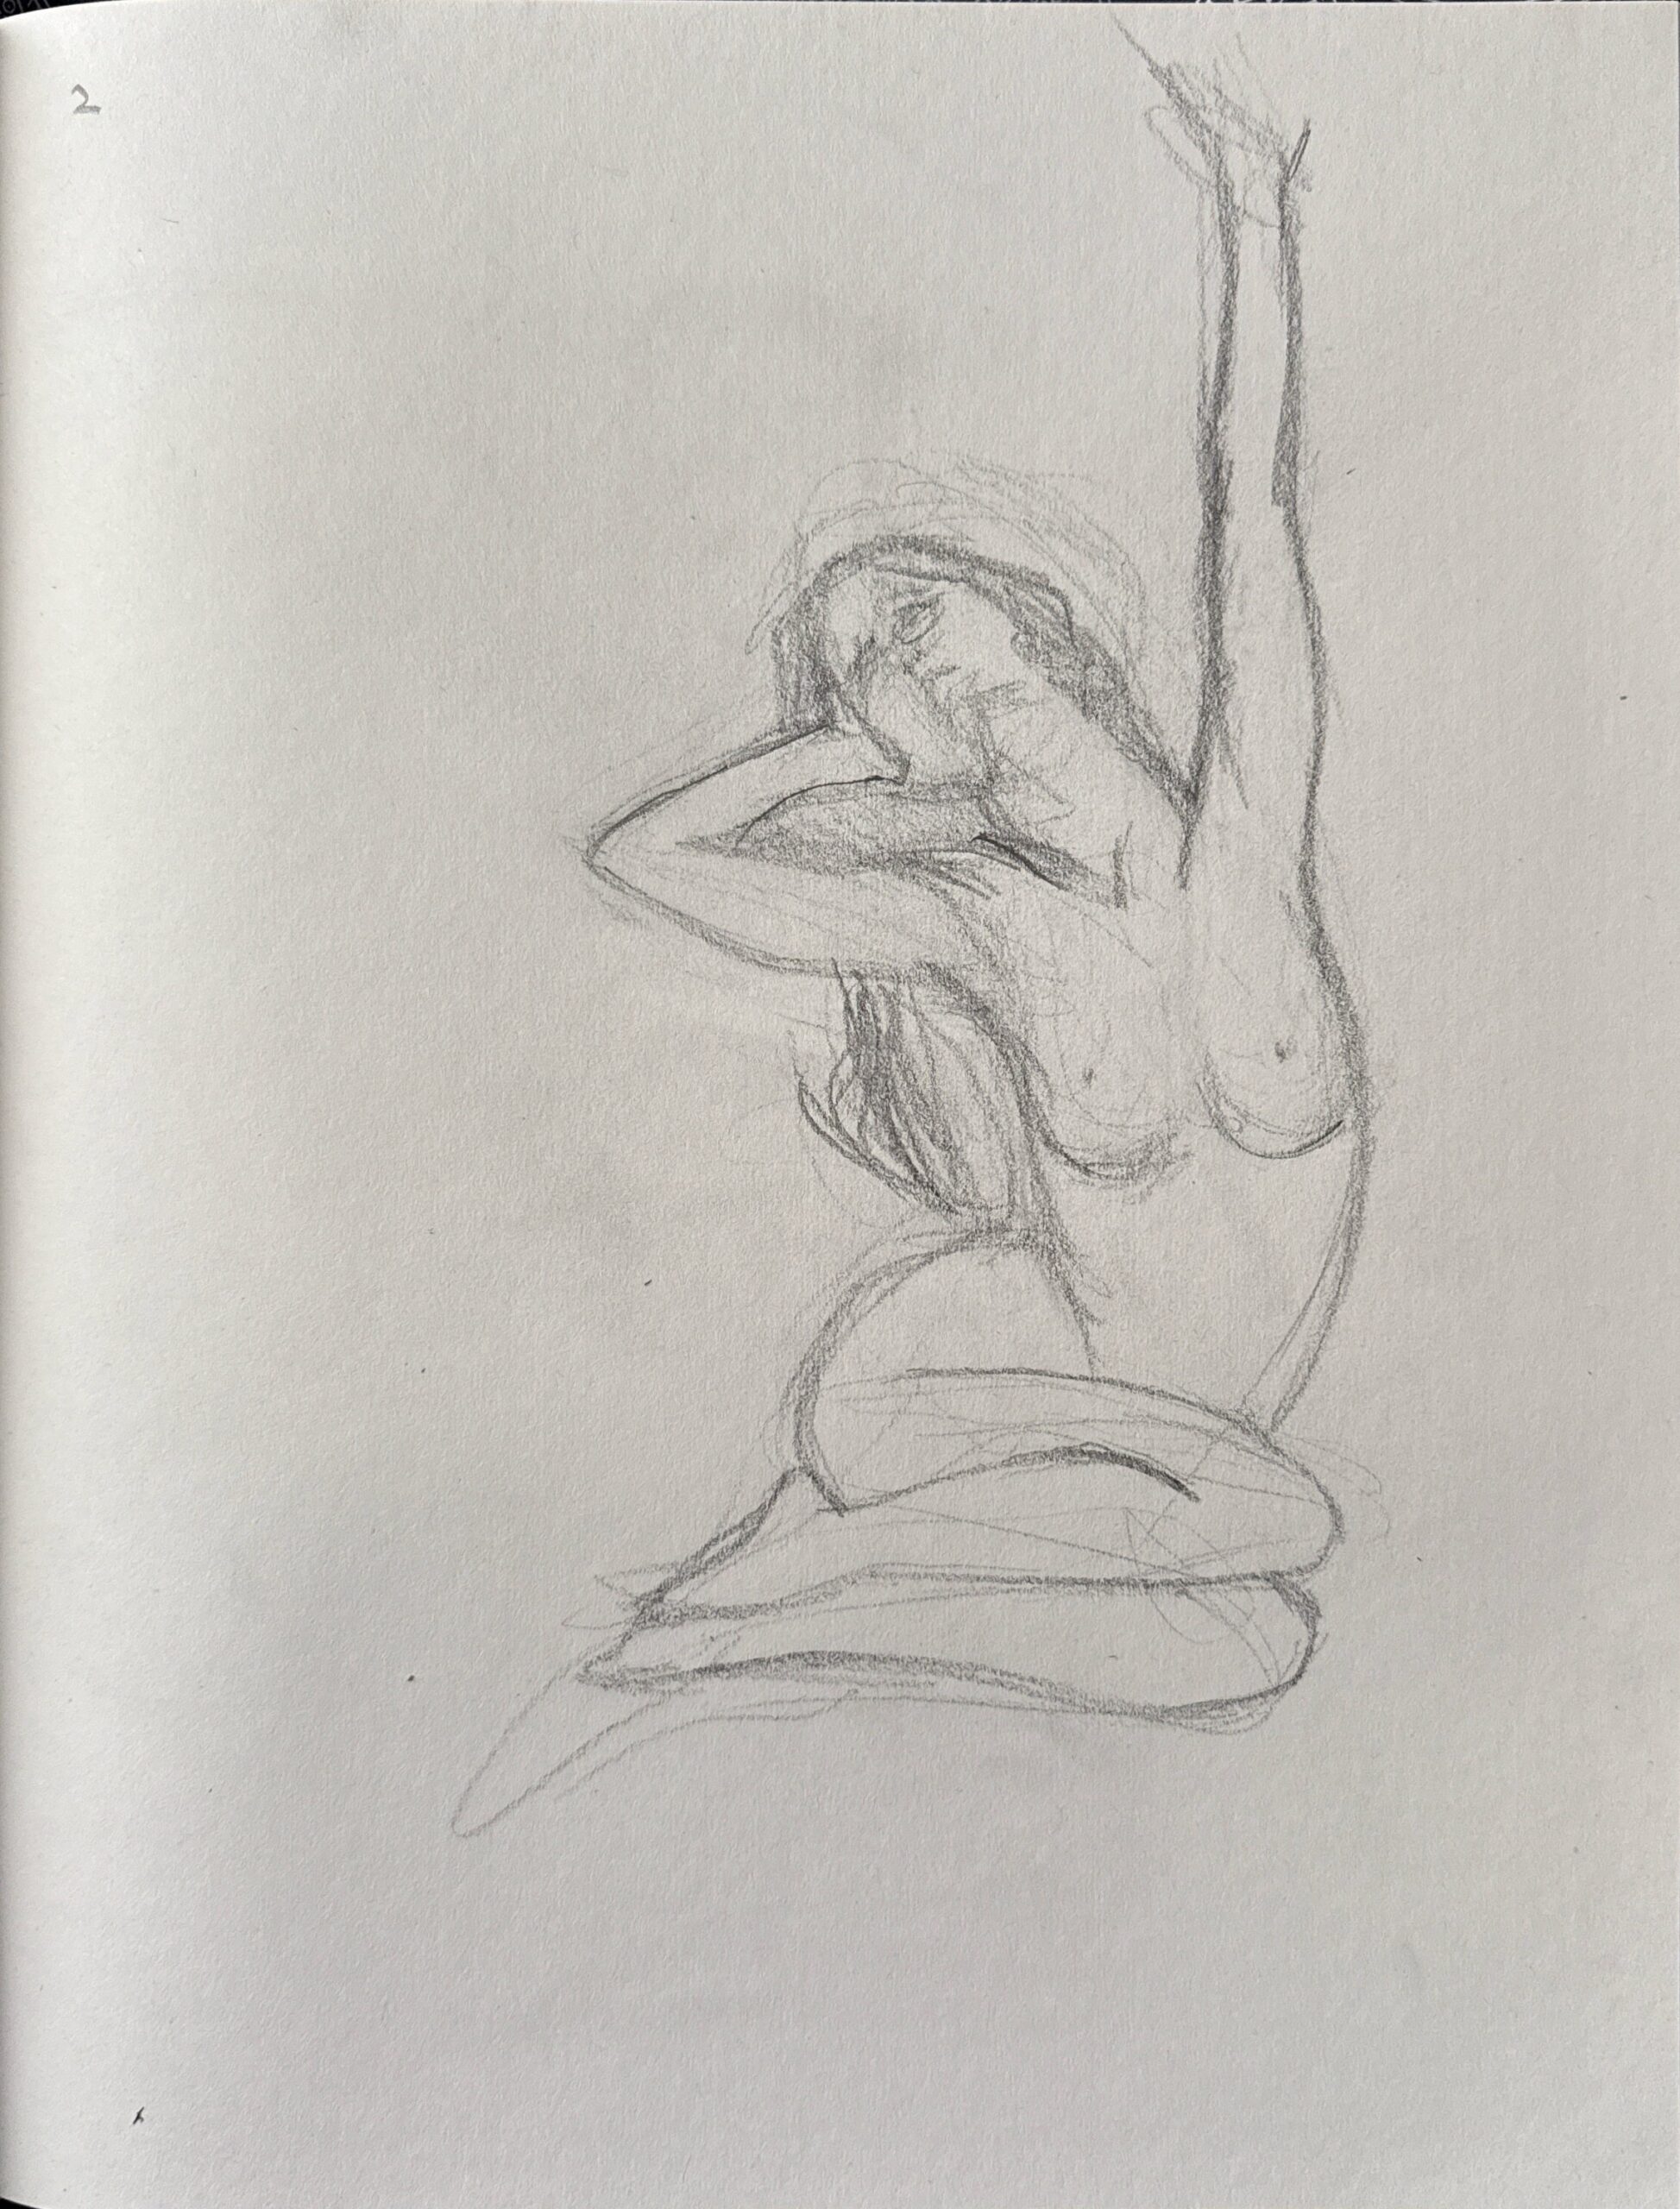
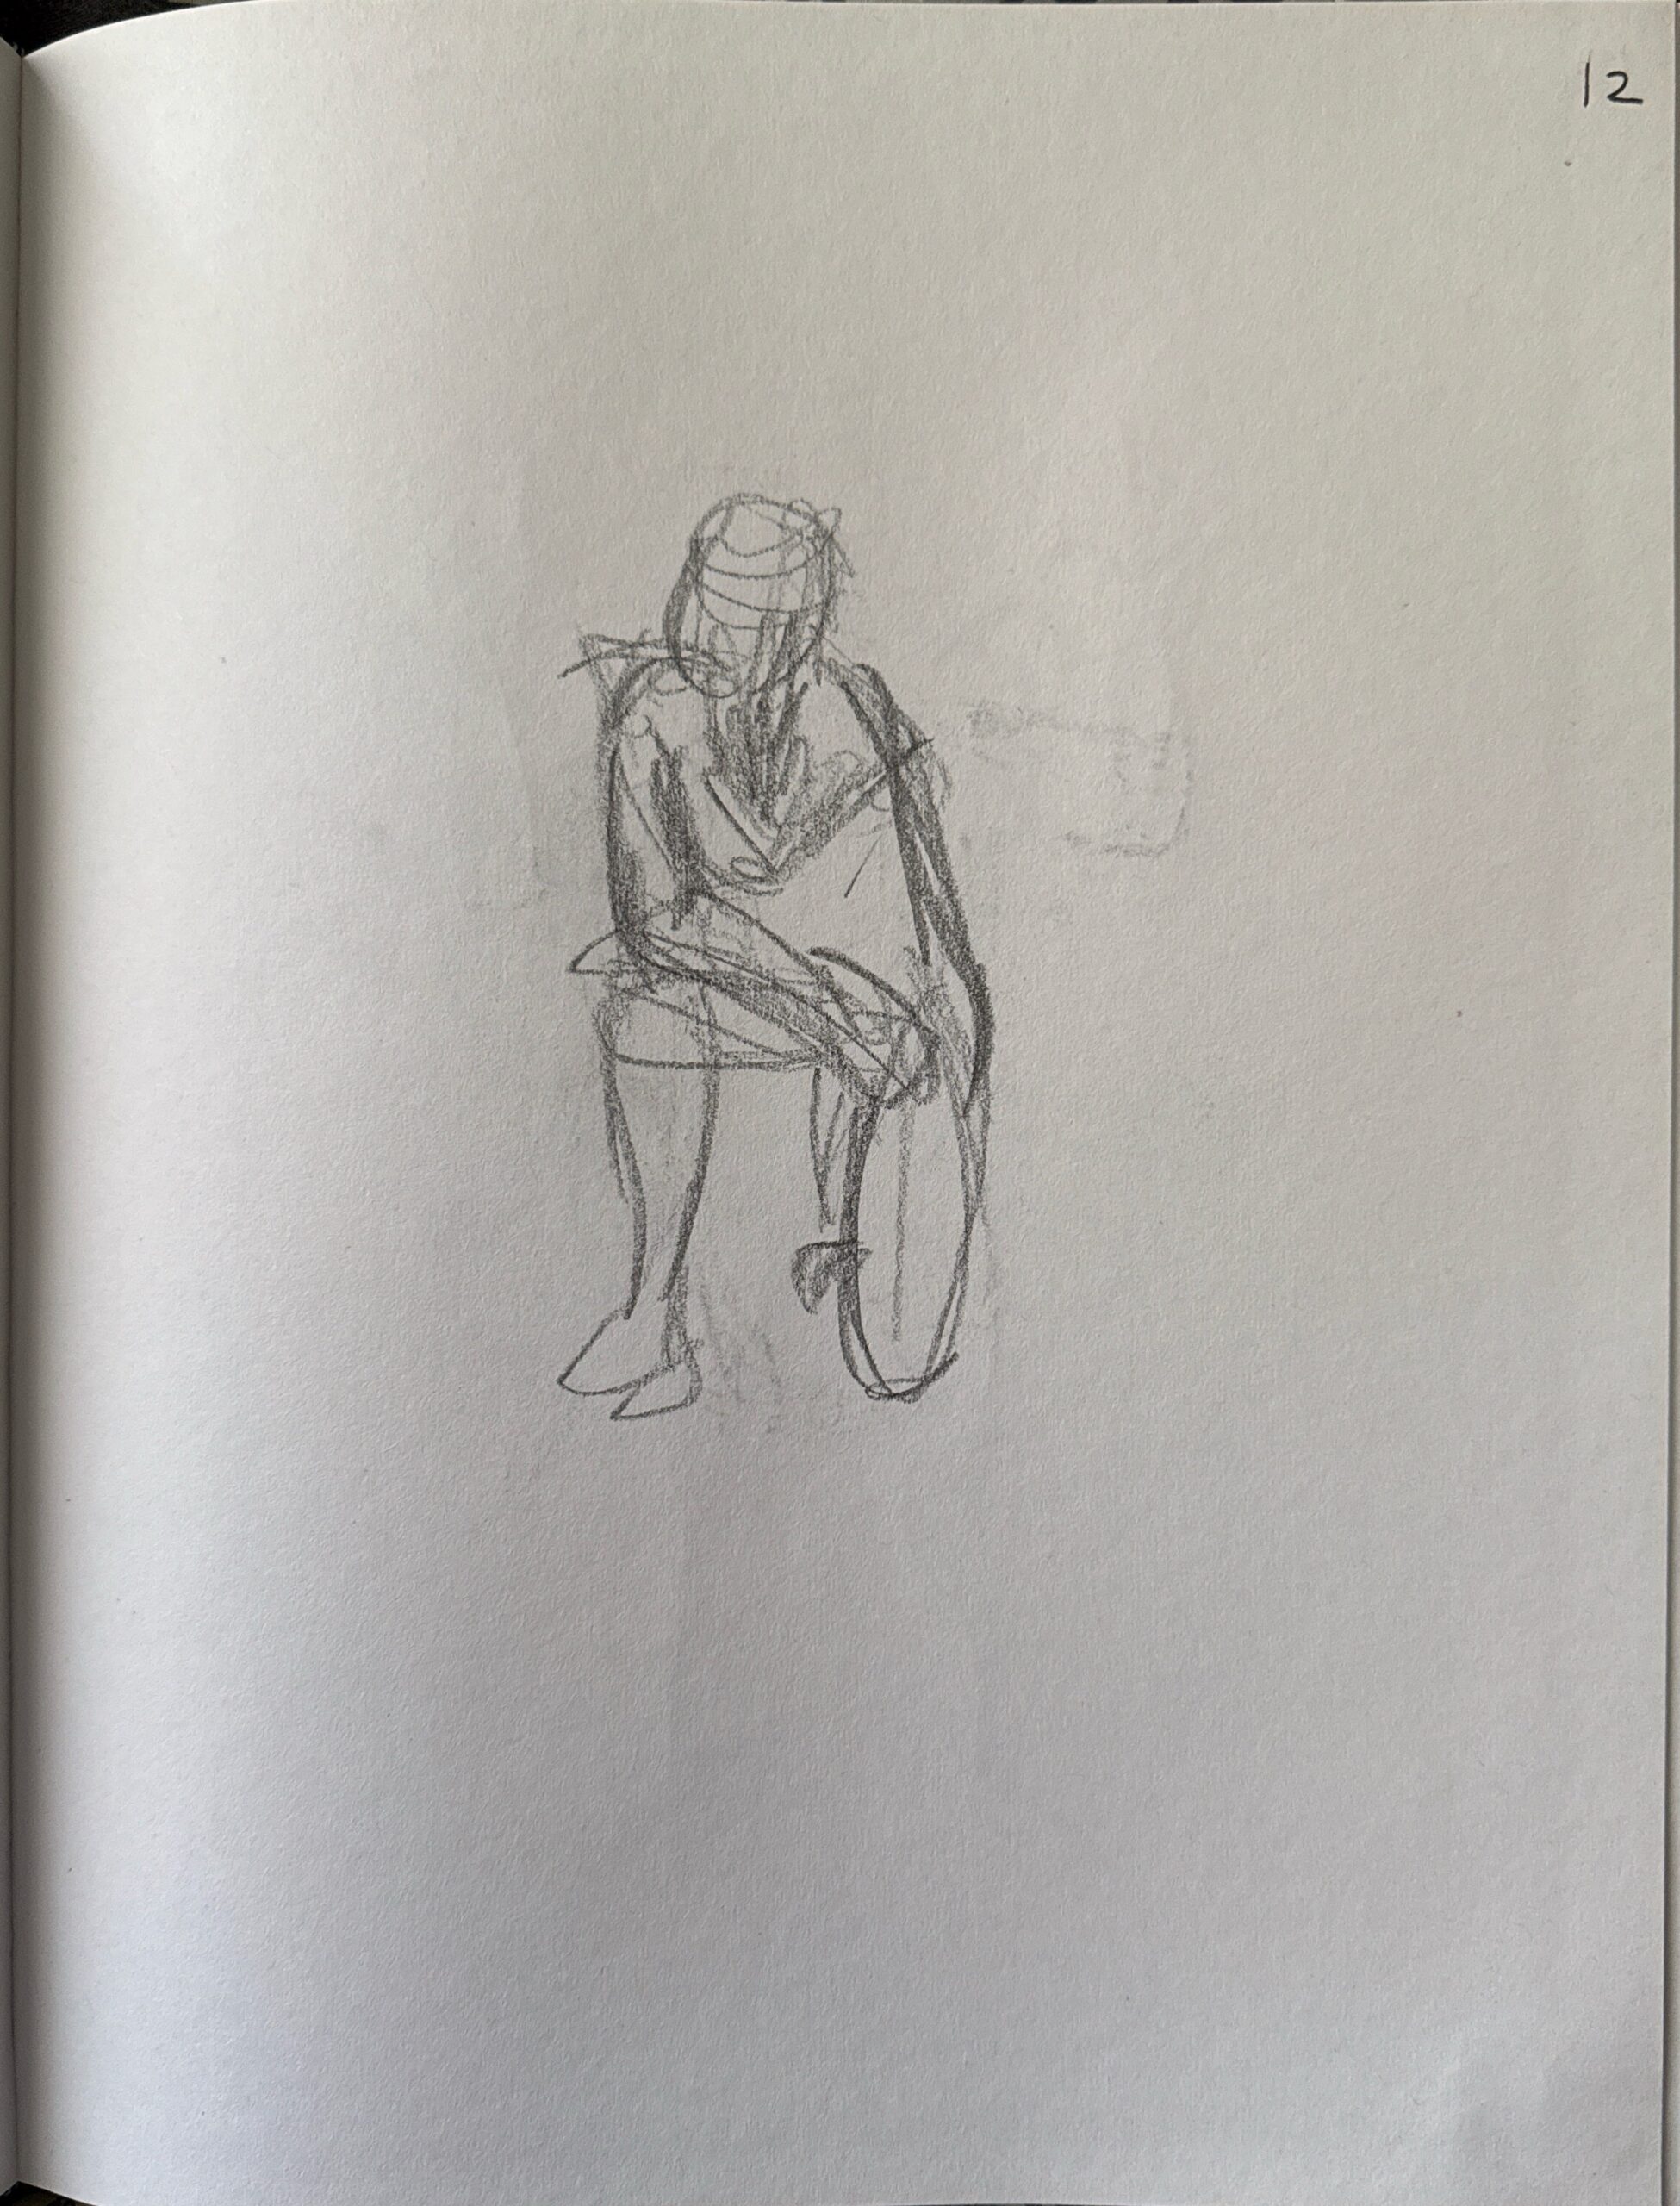
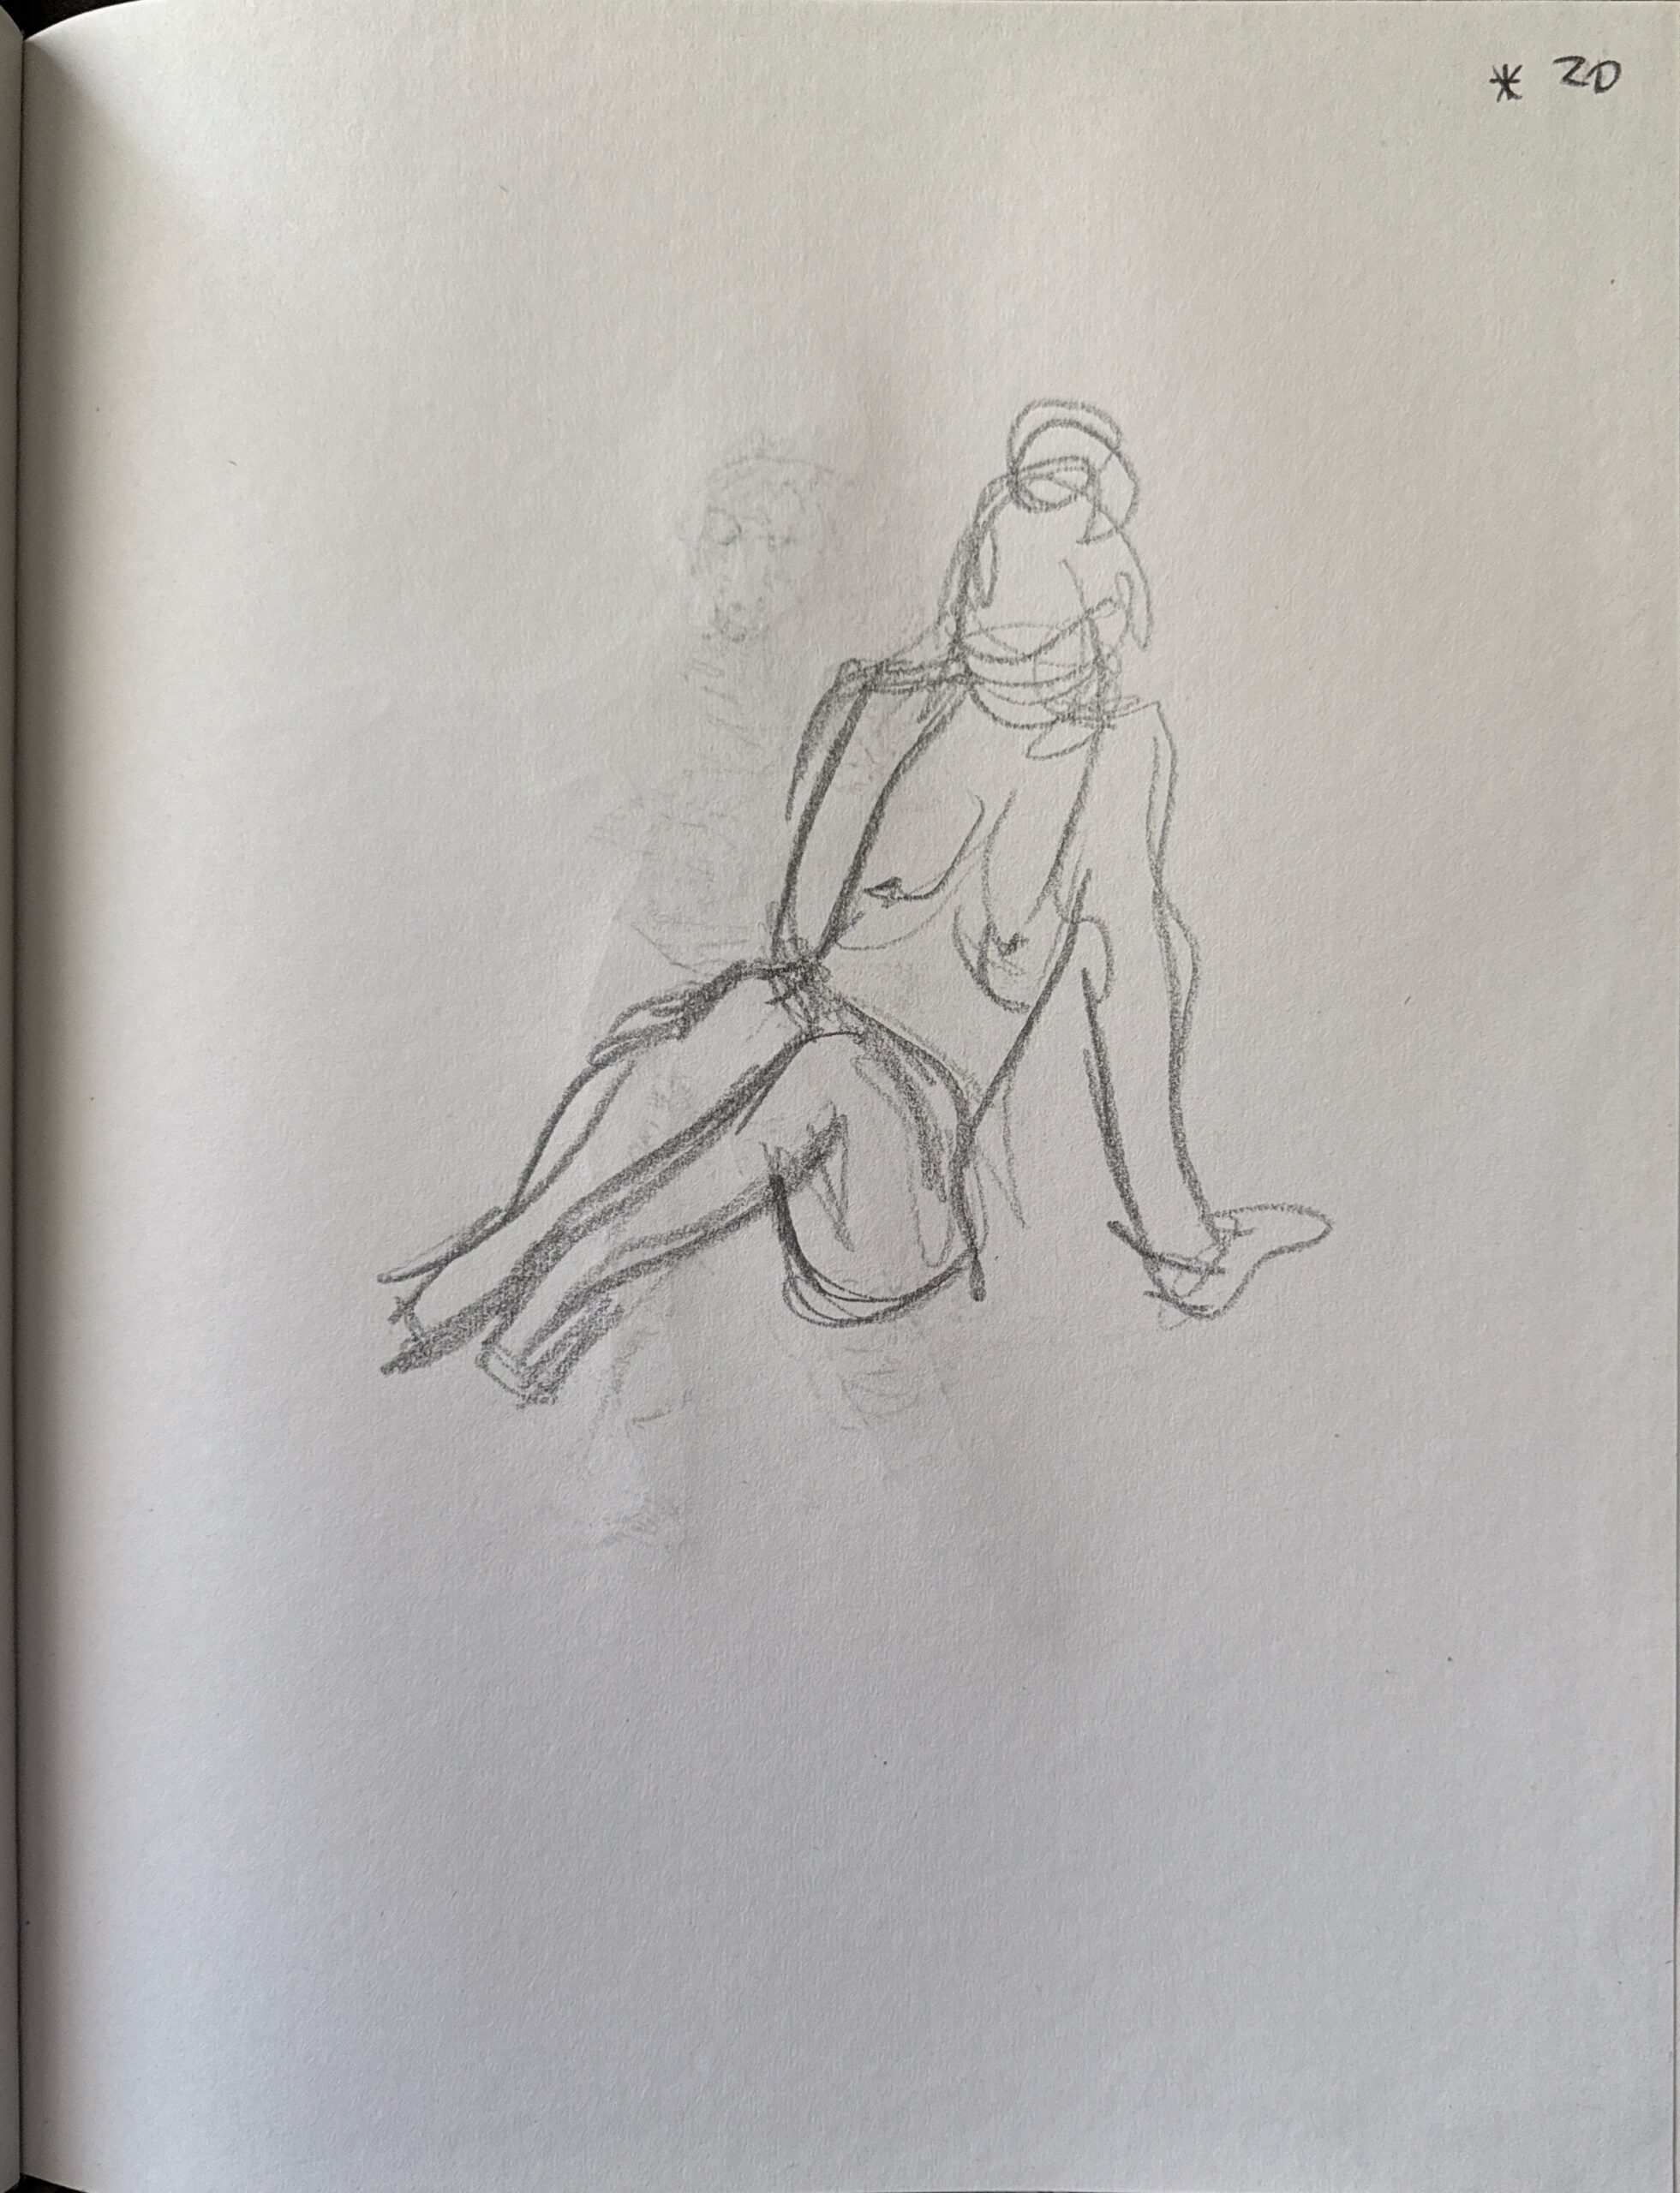
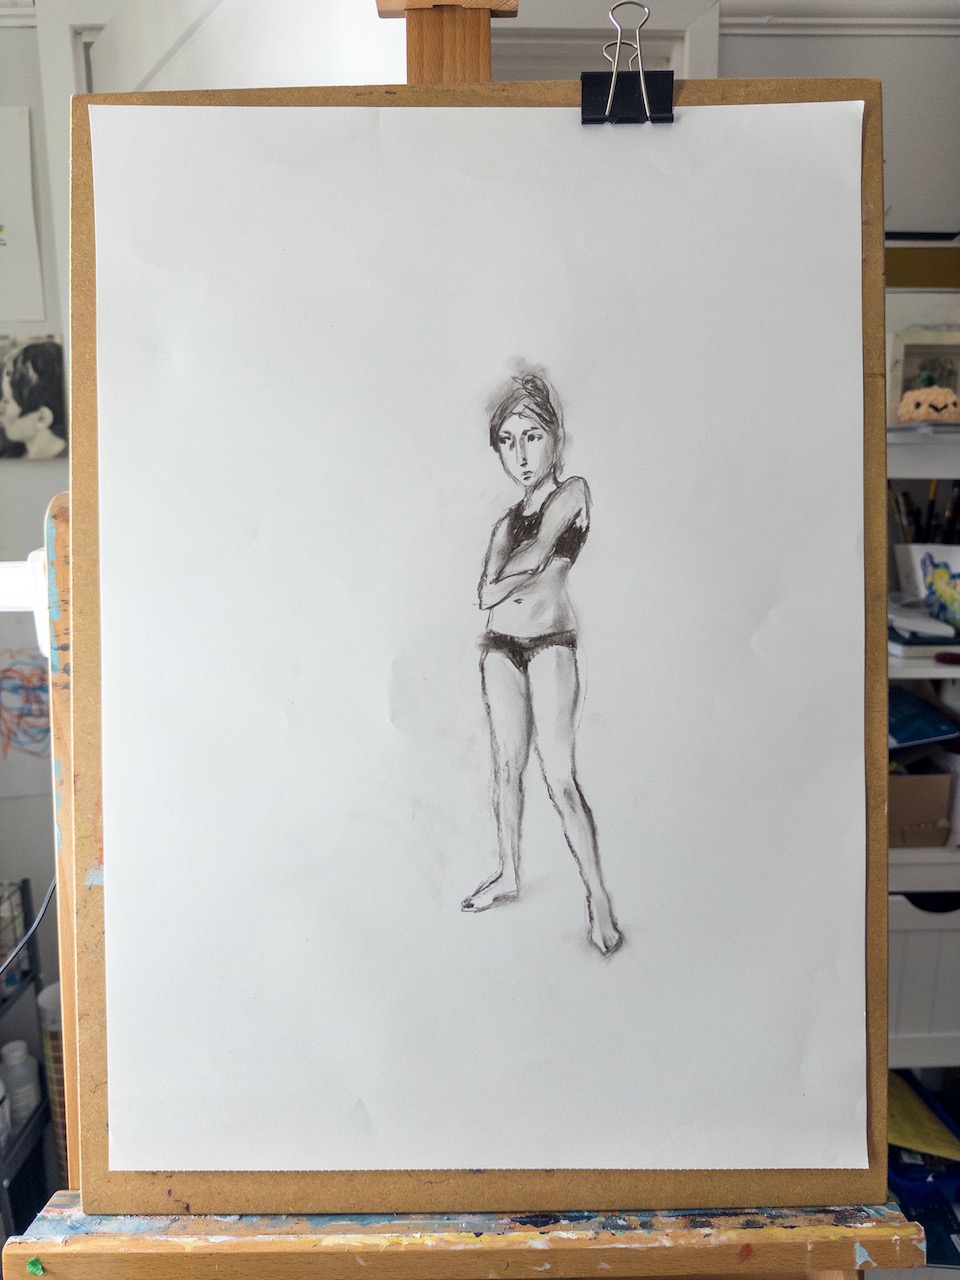
For these studies, I started with a light and loose gestural sketch and then looked to refine it, paying attention to negative shapes and angles. I like their energy.
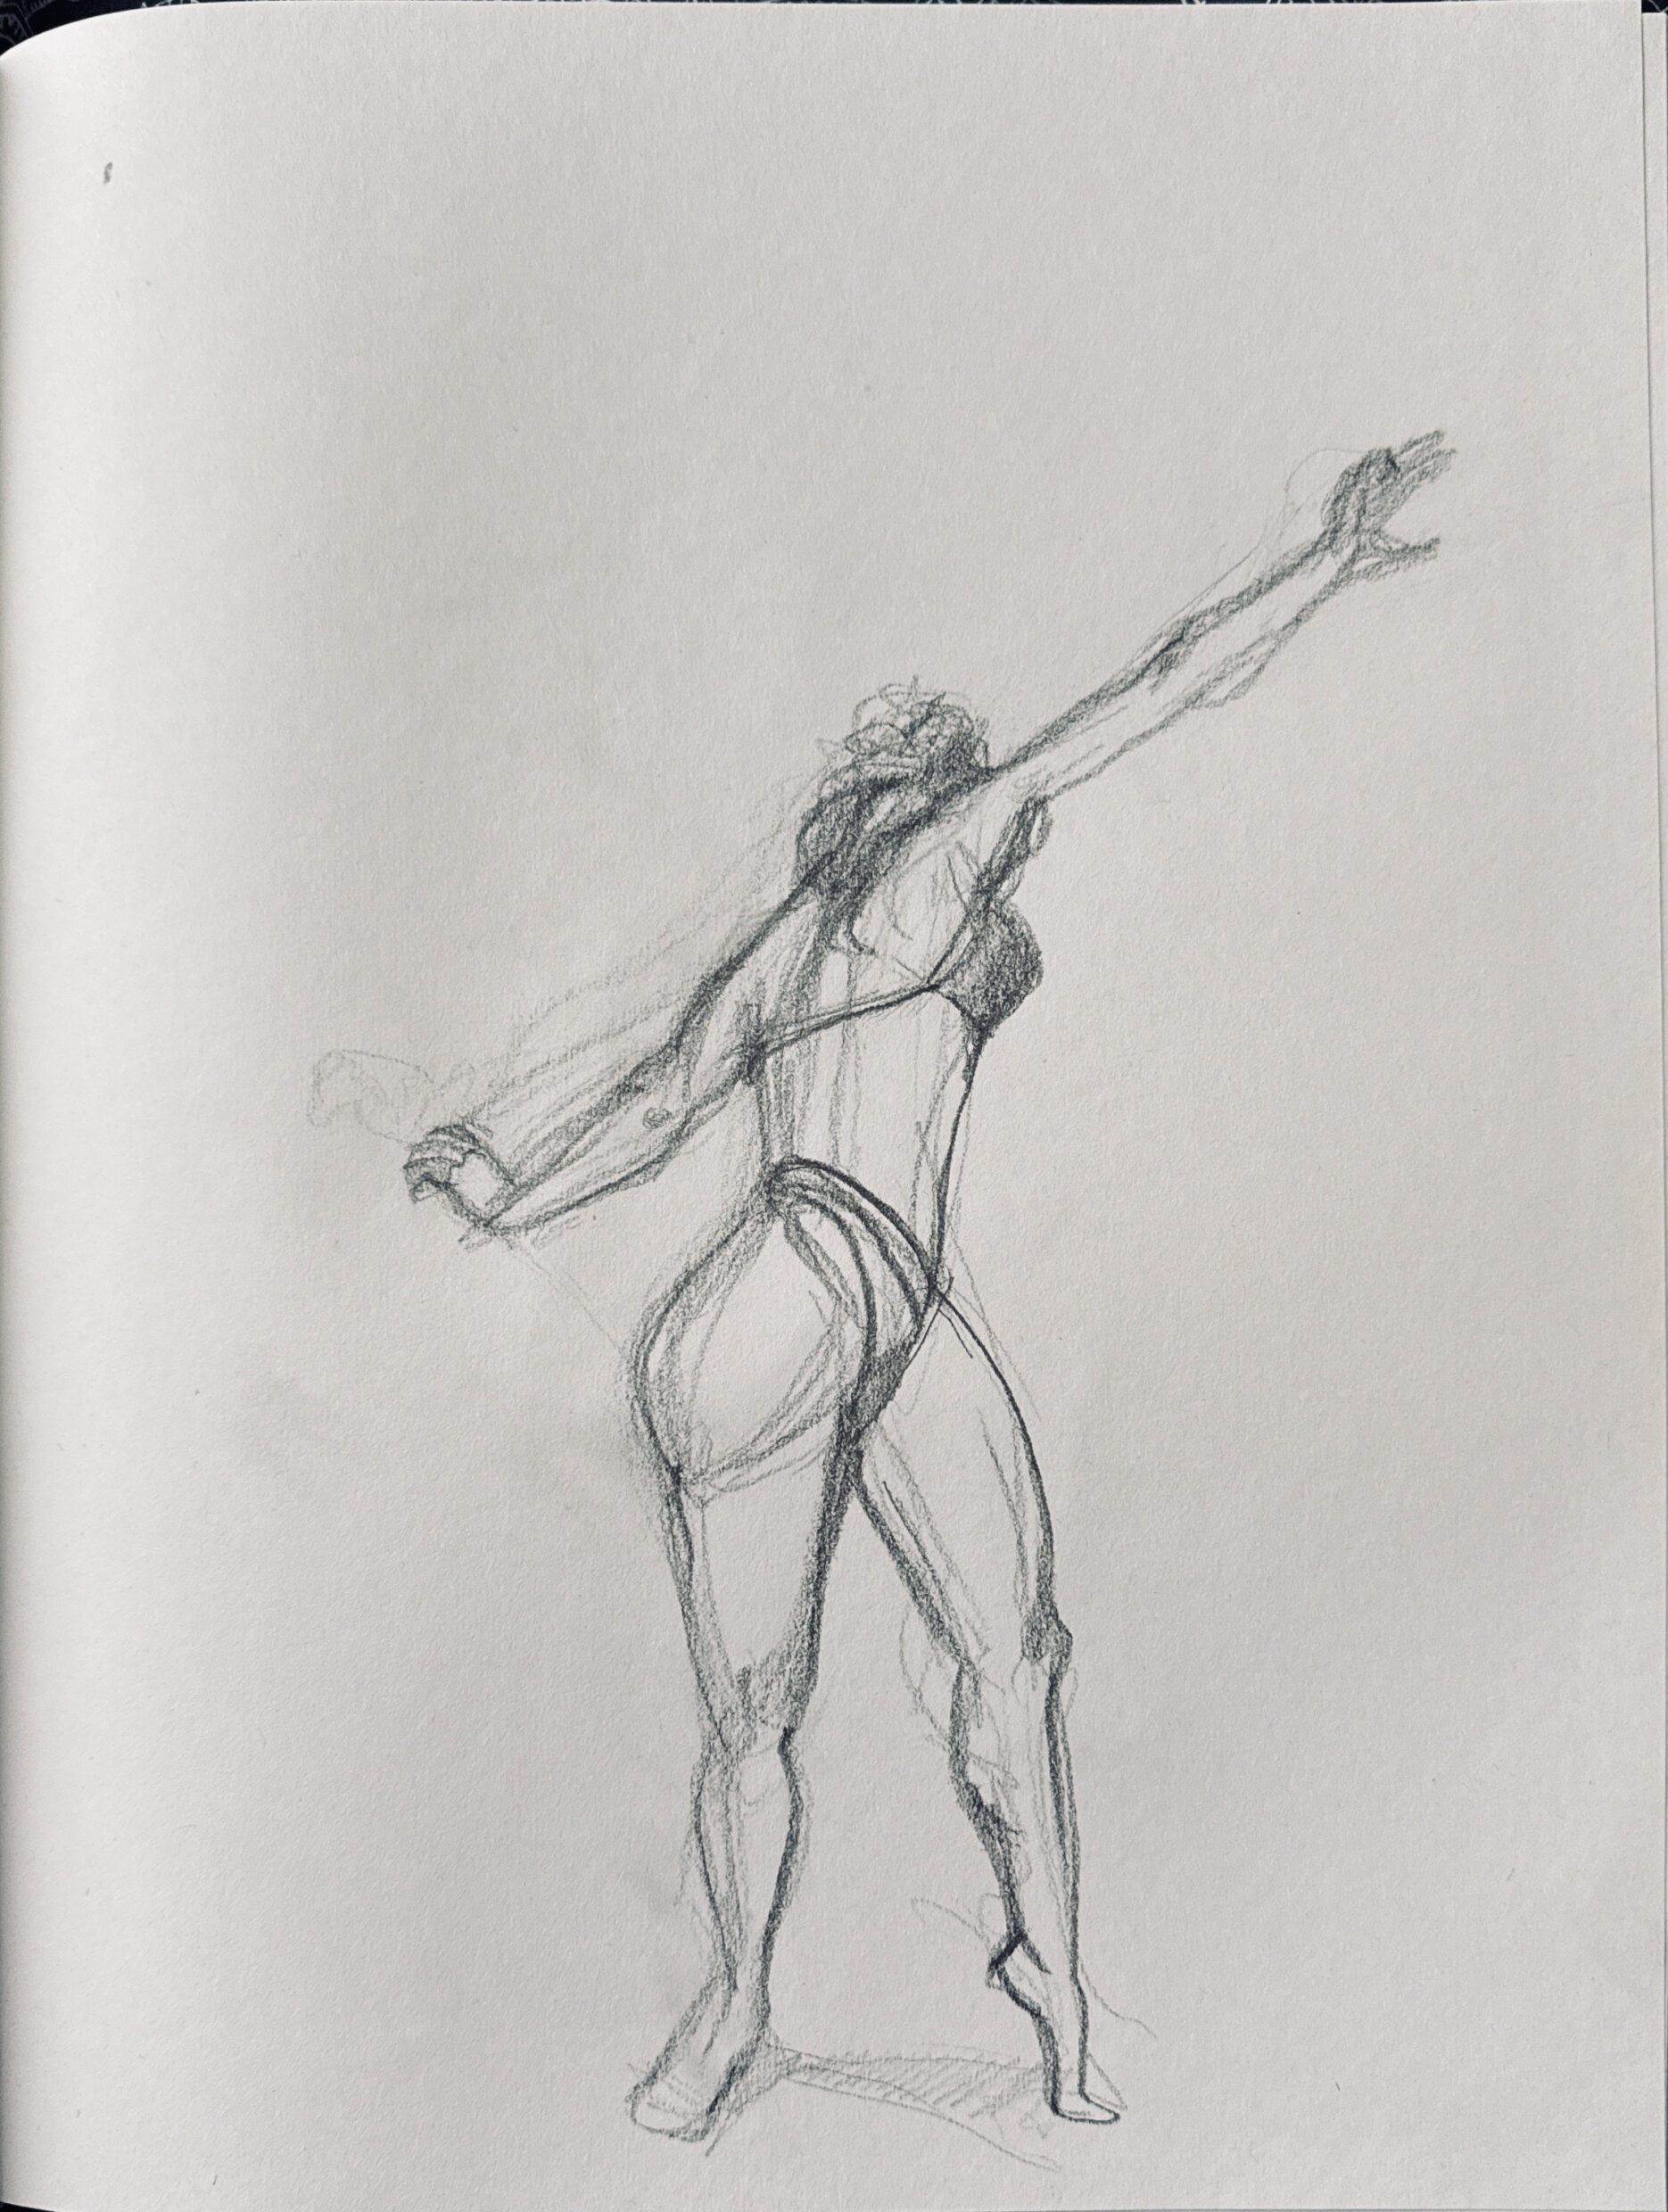
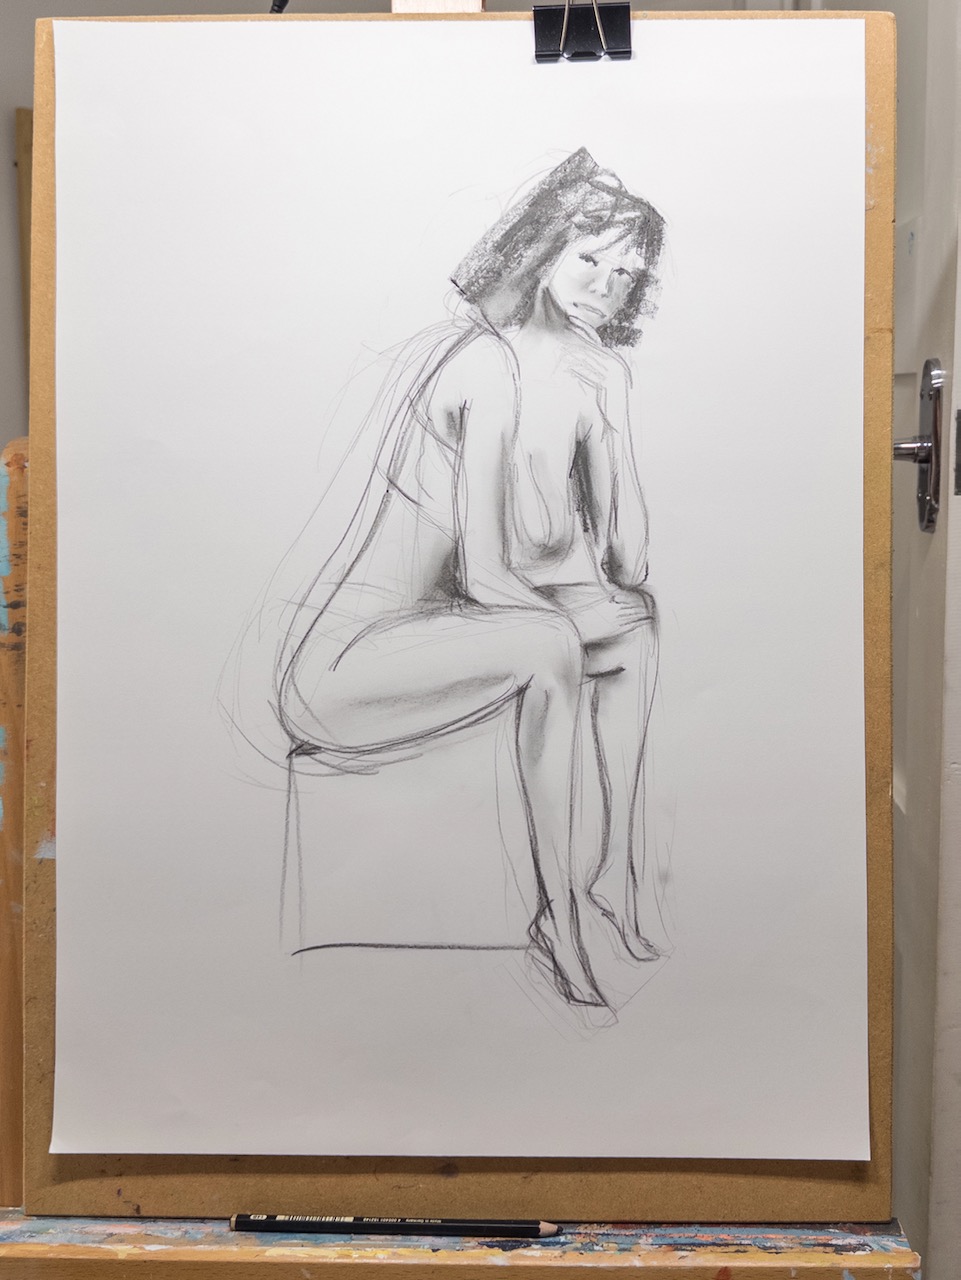
Step 3. 20-minute drawing
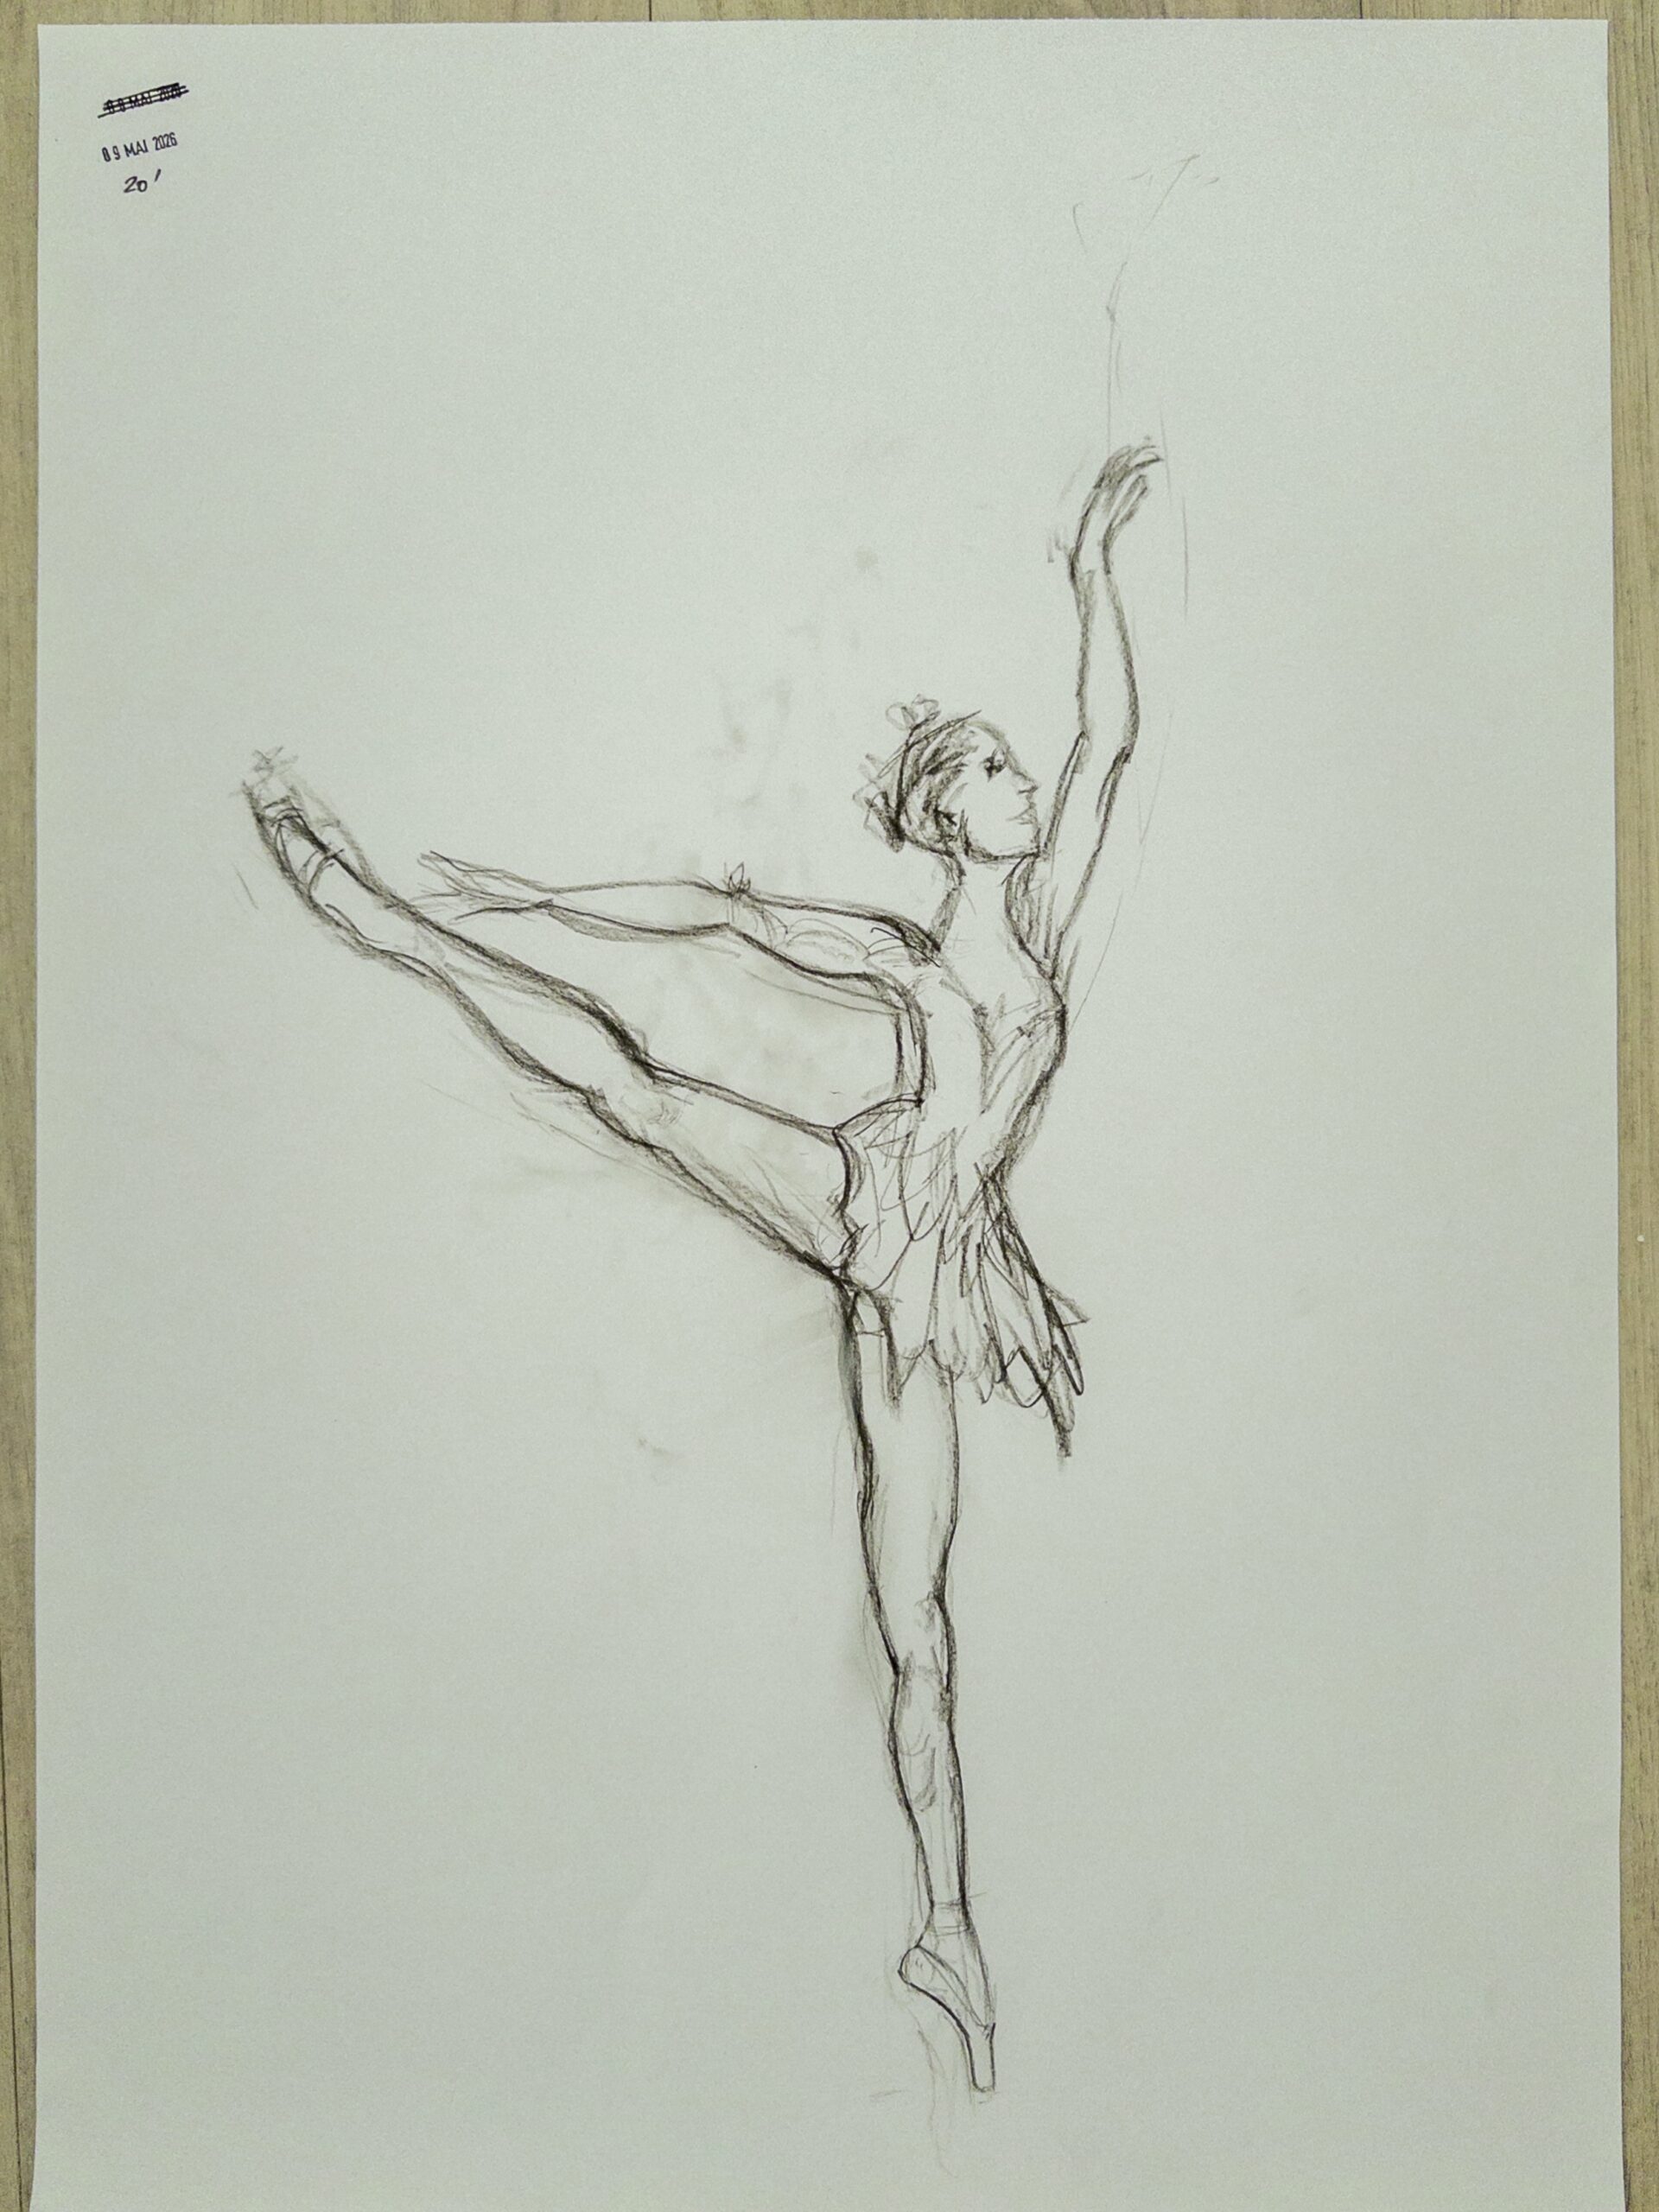
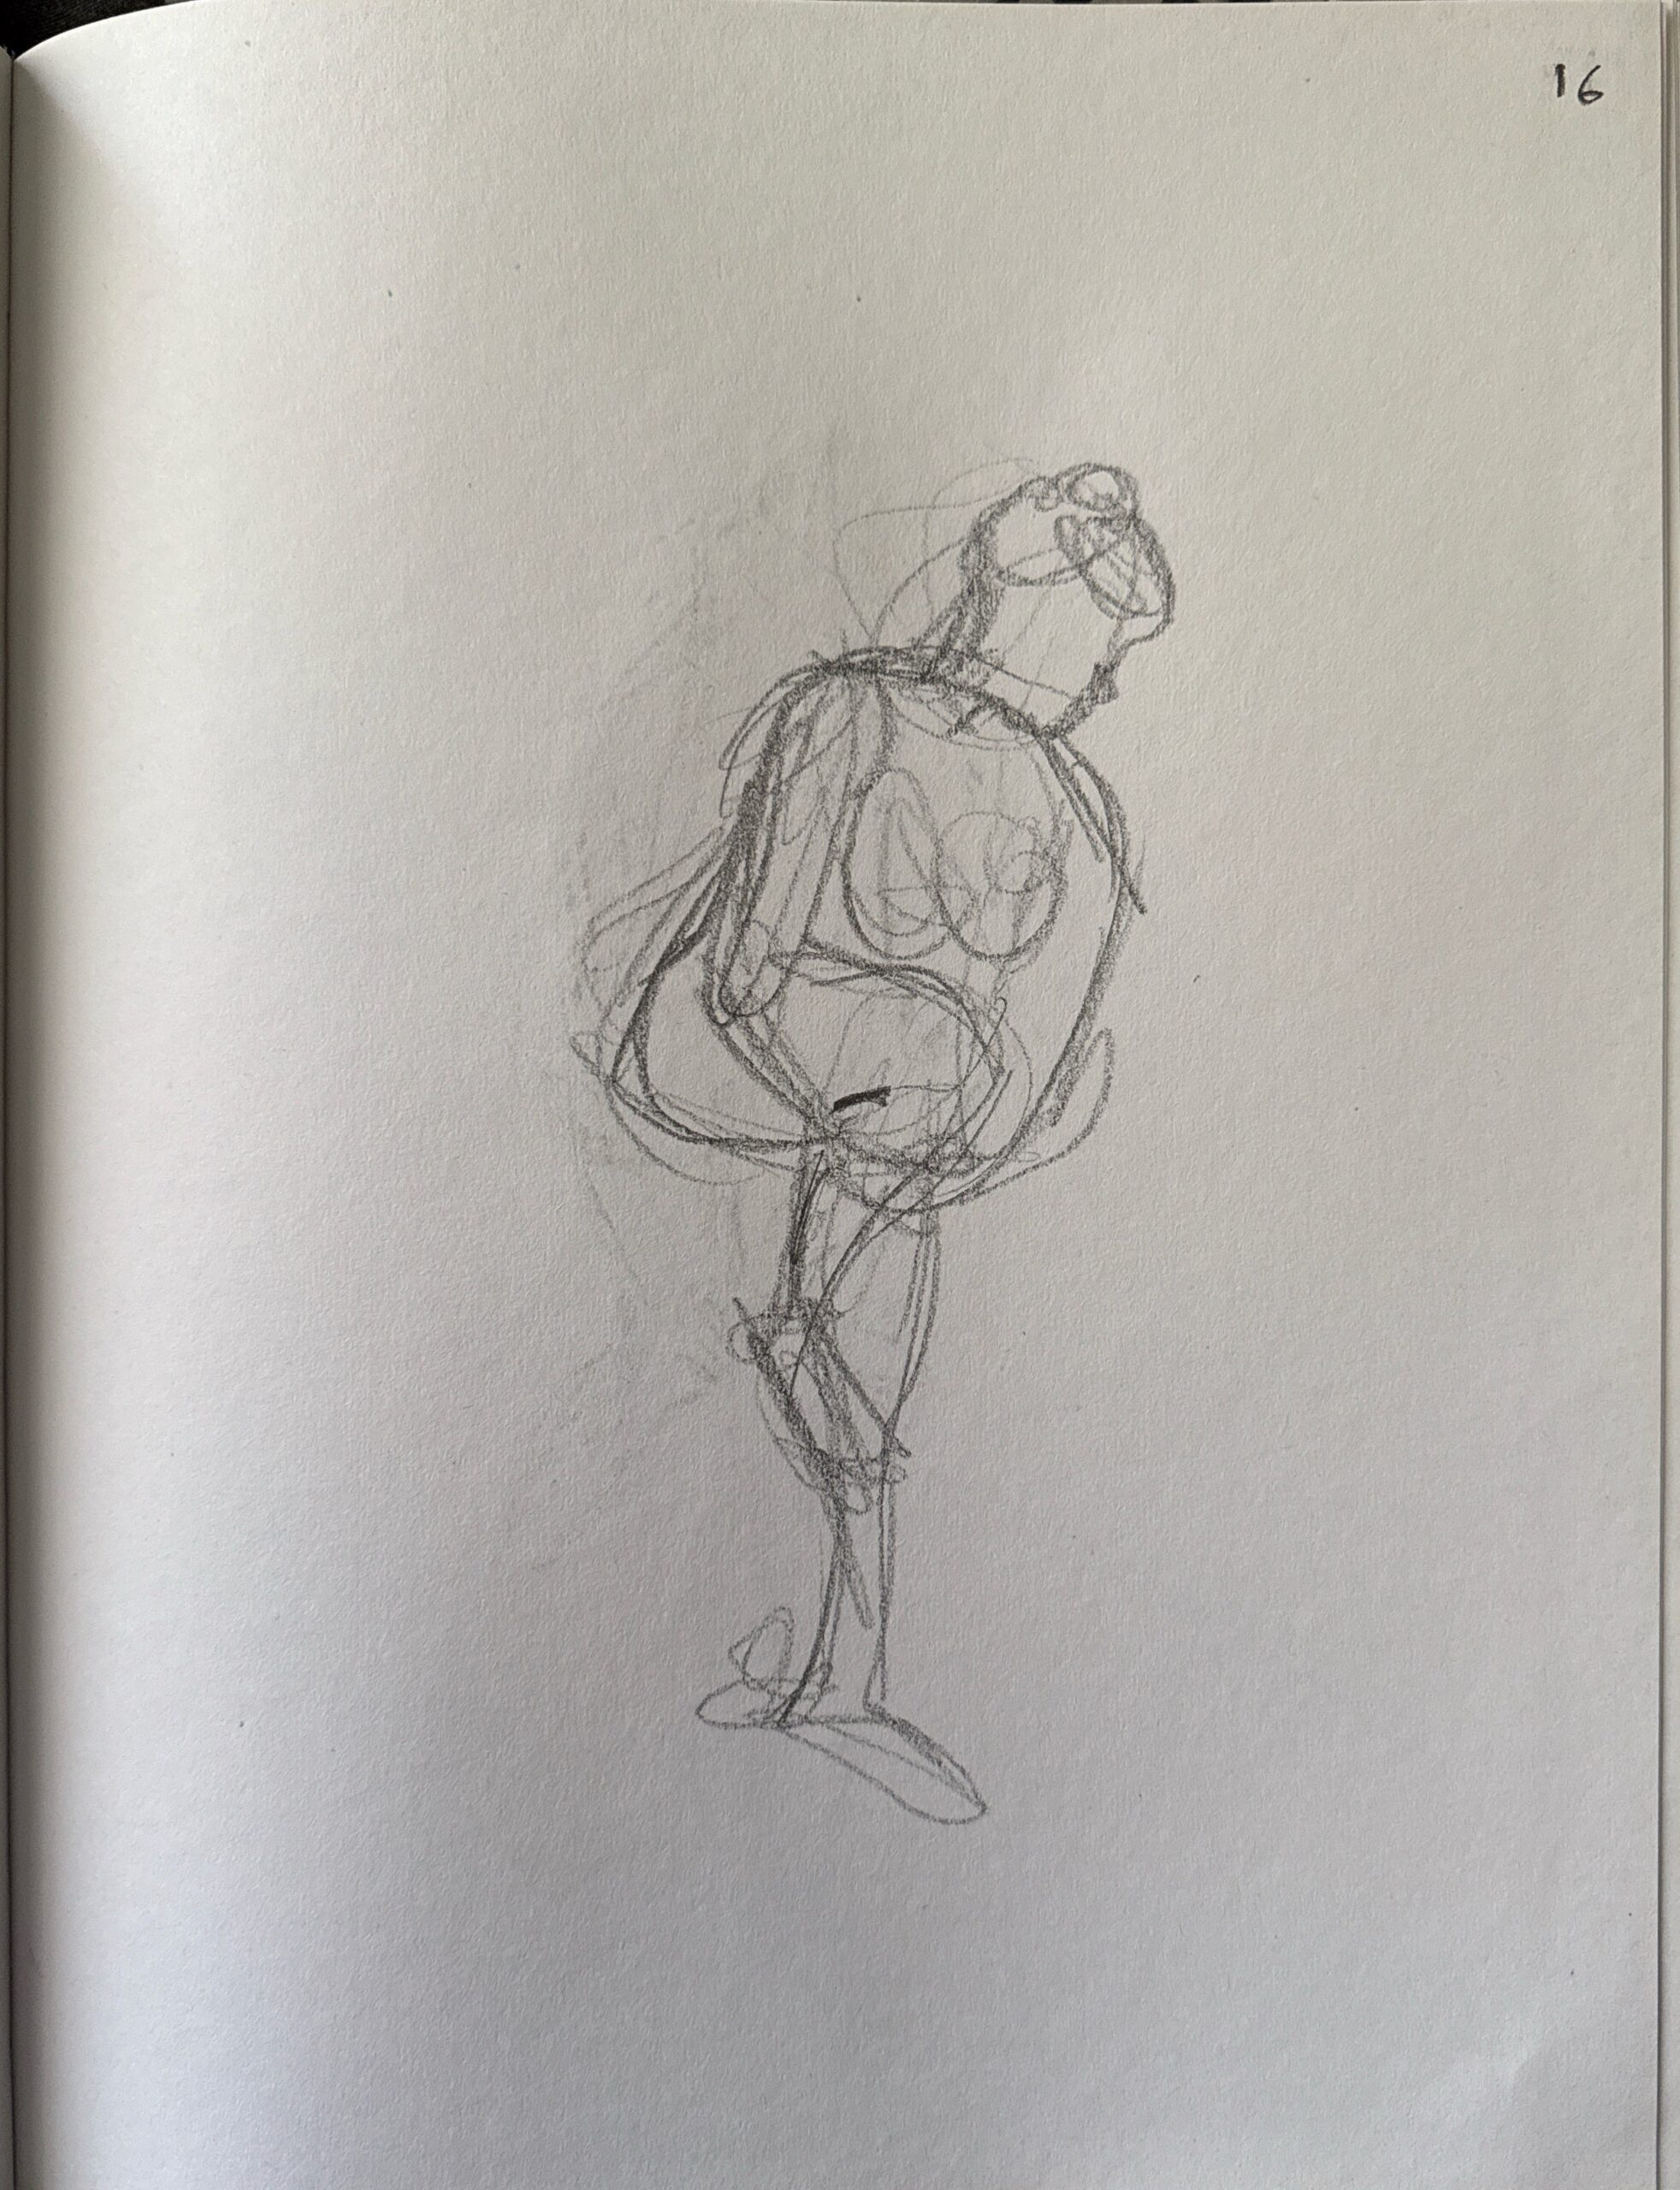
For this study, I scaled up and changed the material (I used a charcoal pencil instead of a graphite pencil). I also change my position: I stood that the easel and looked at the figure on my iPad. Somehow, this meant that I felt less at ease with my mark making, it also was harder to keep the whole figure in check. The line of the tight going down seems off. Somehow the 10-min drawings were more successful than this one which feels stiffer.
Step 4. Experimenting with materials and positions


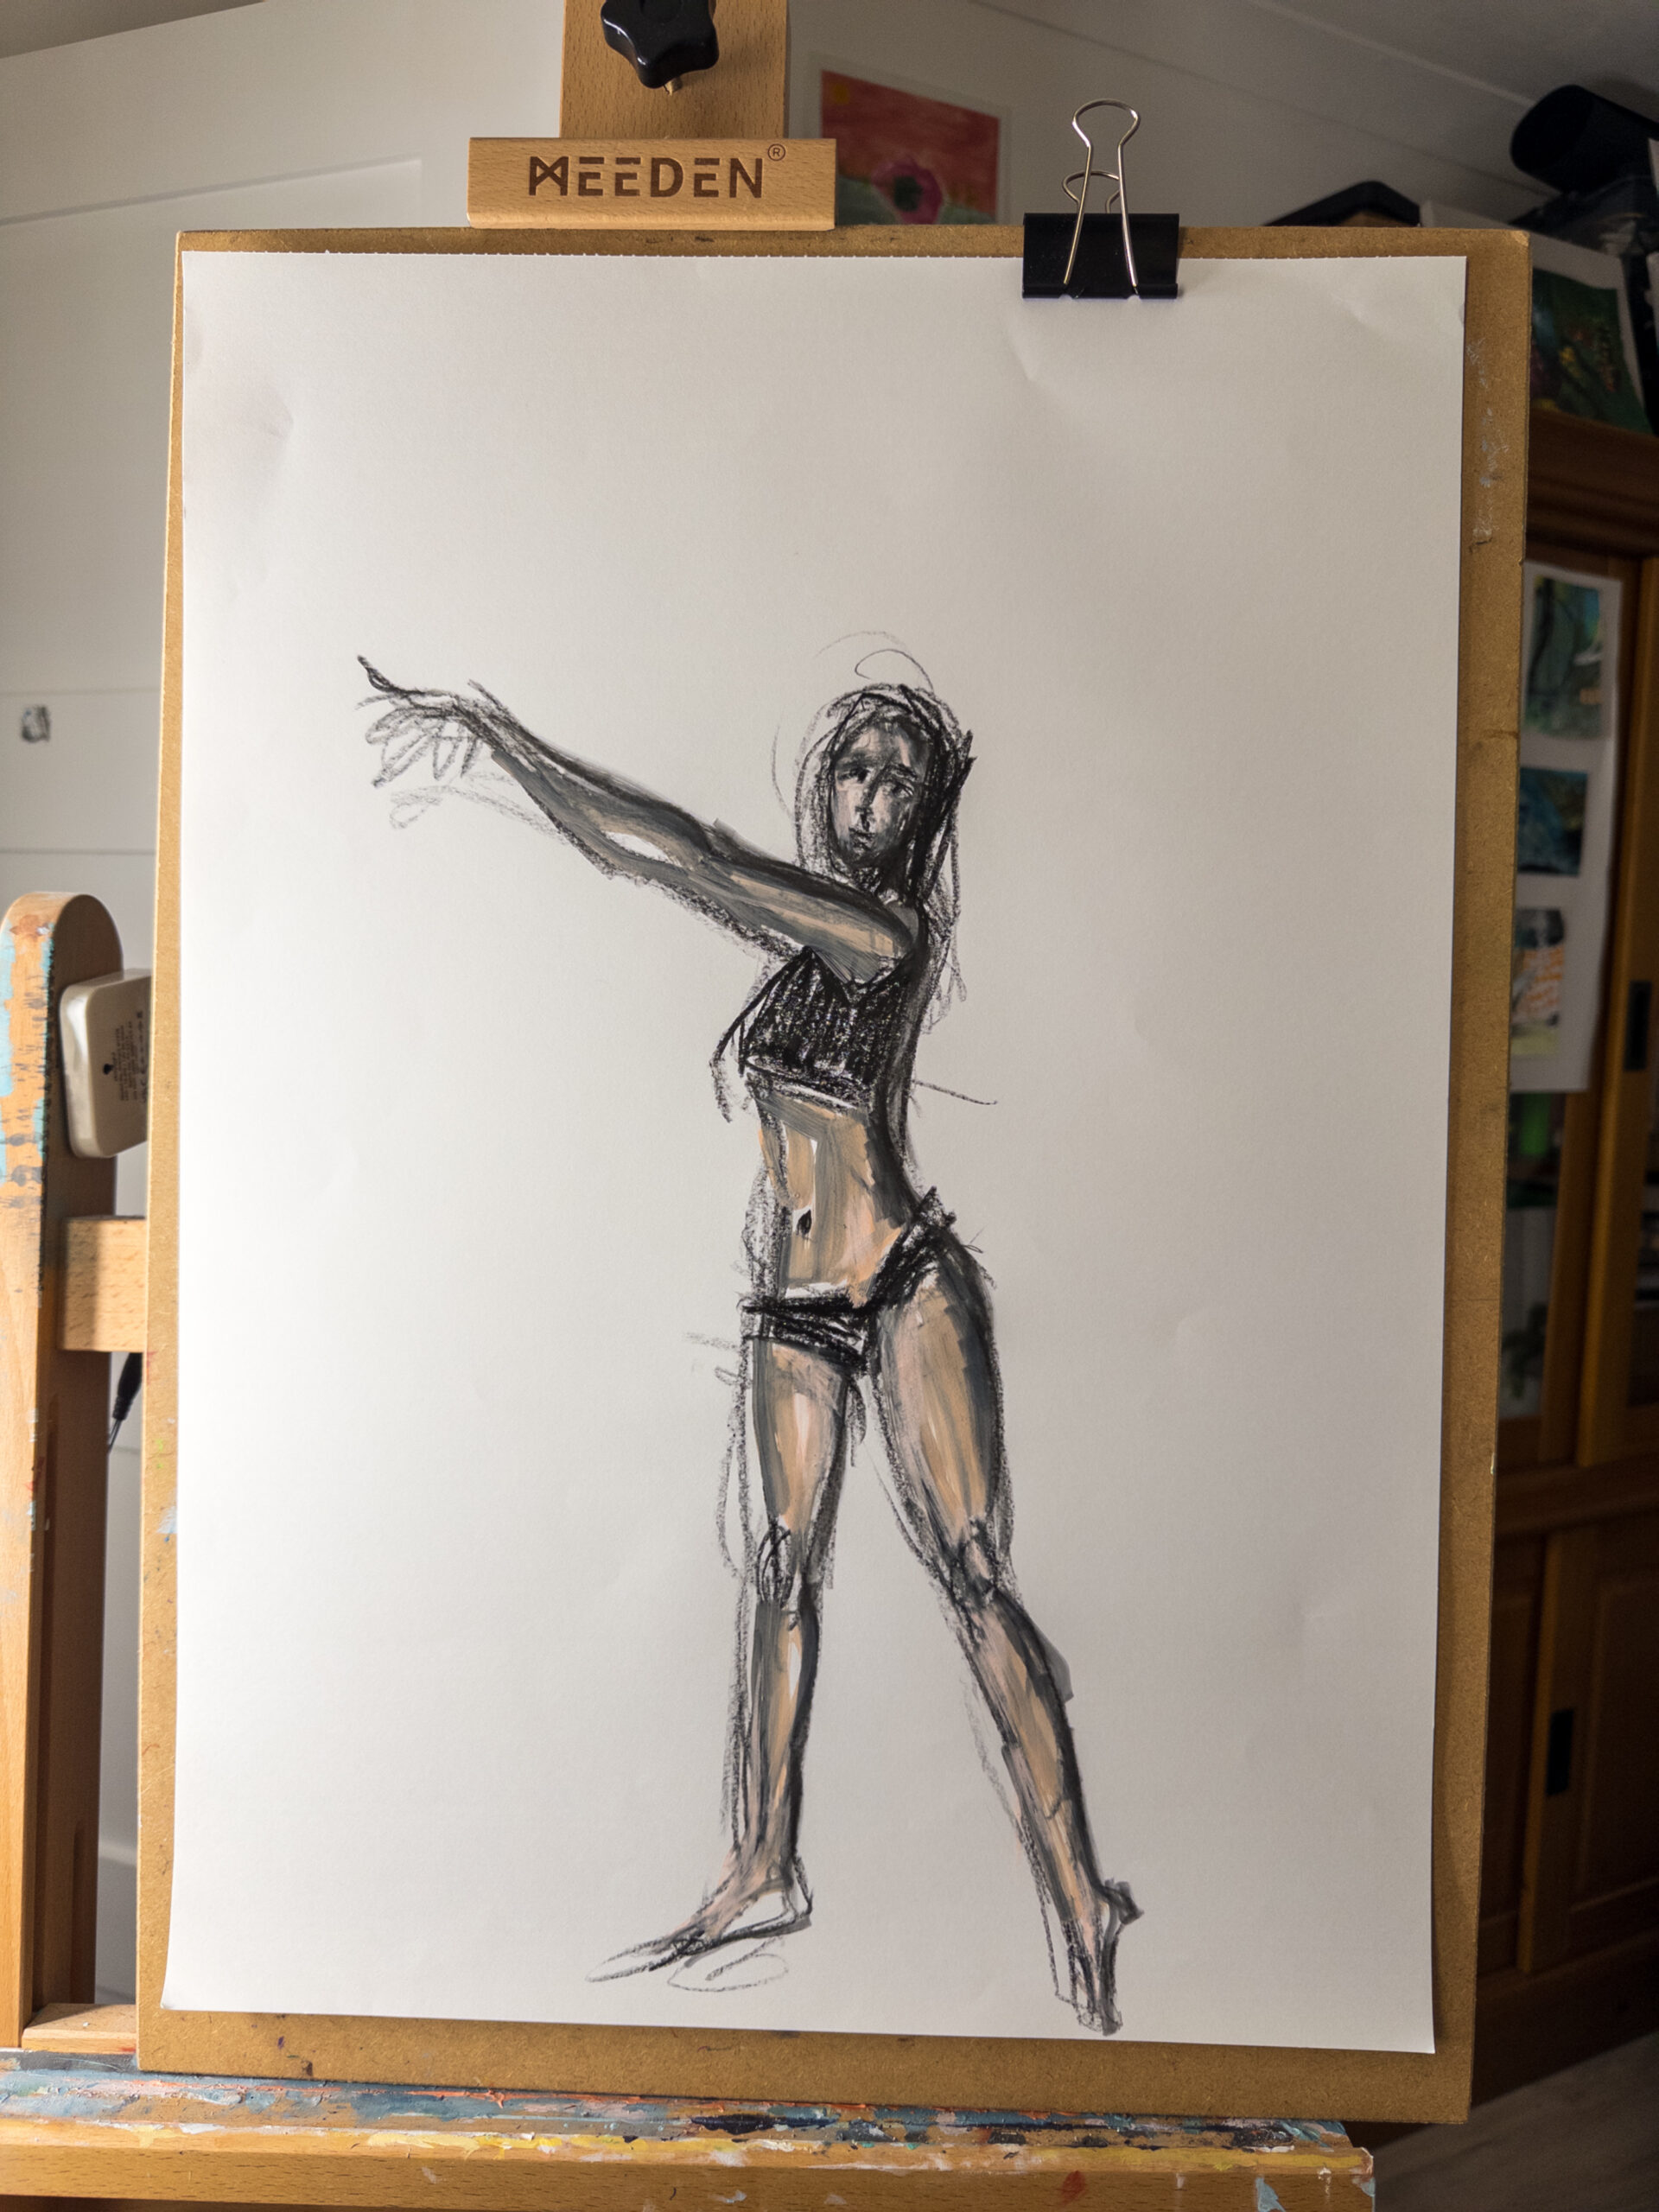
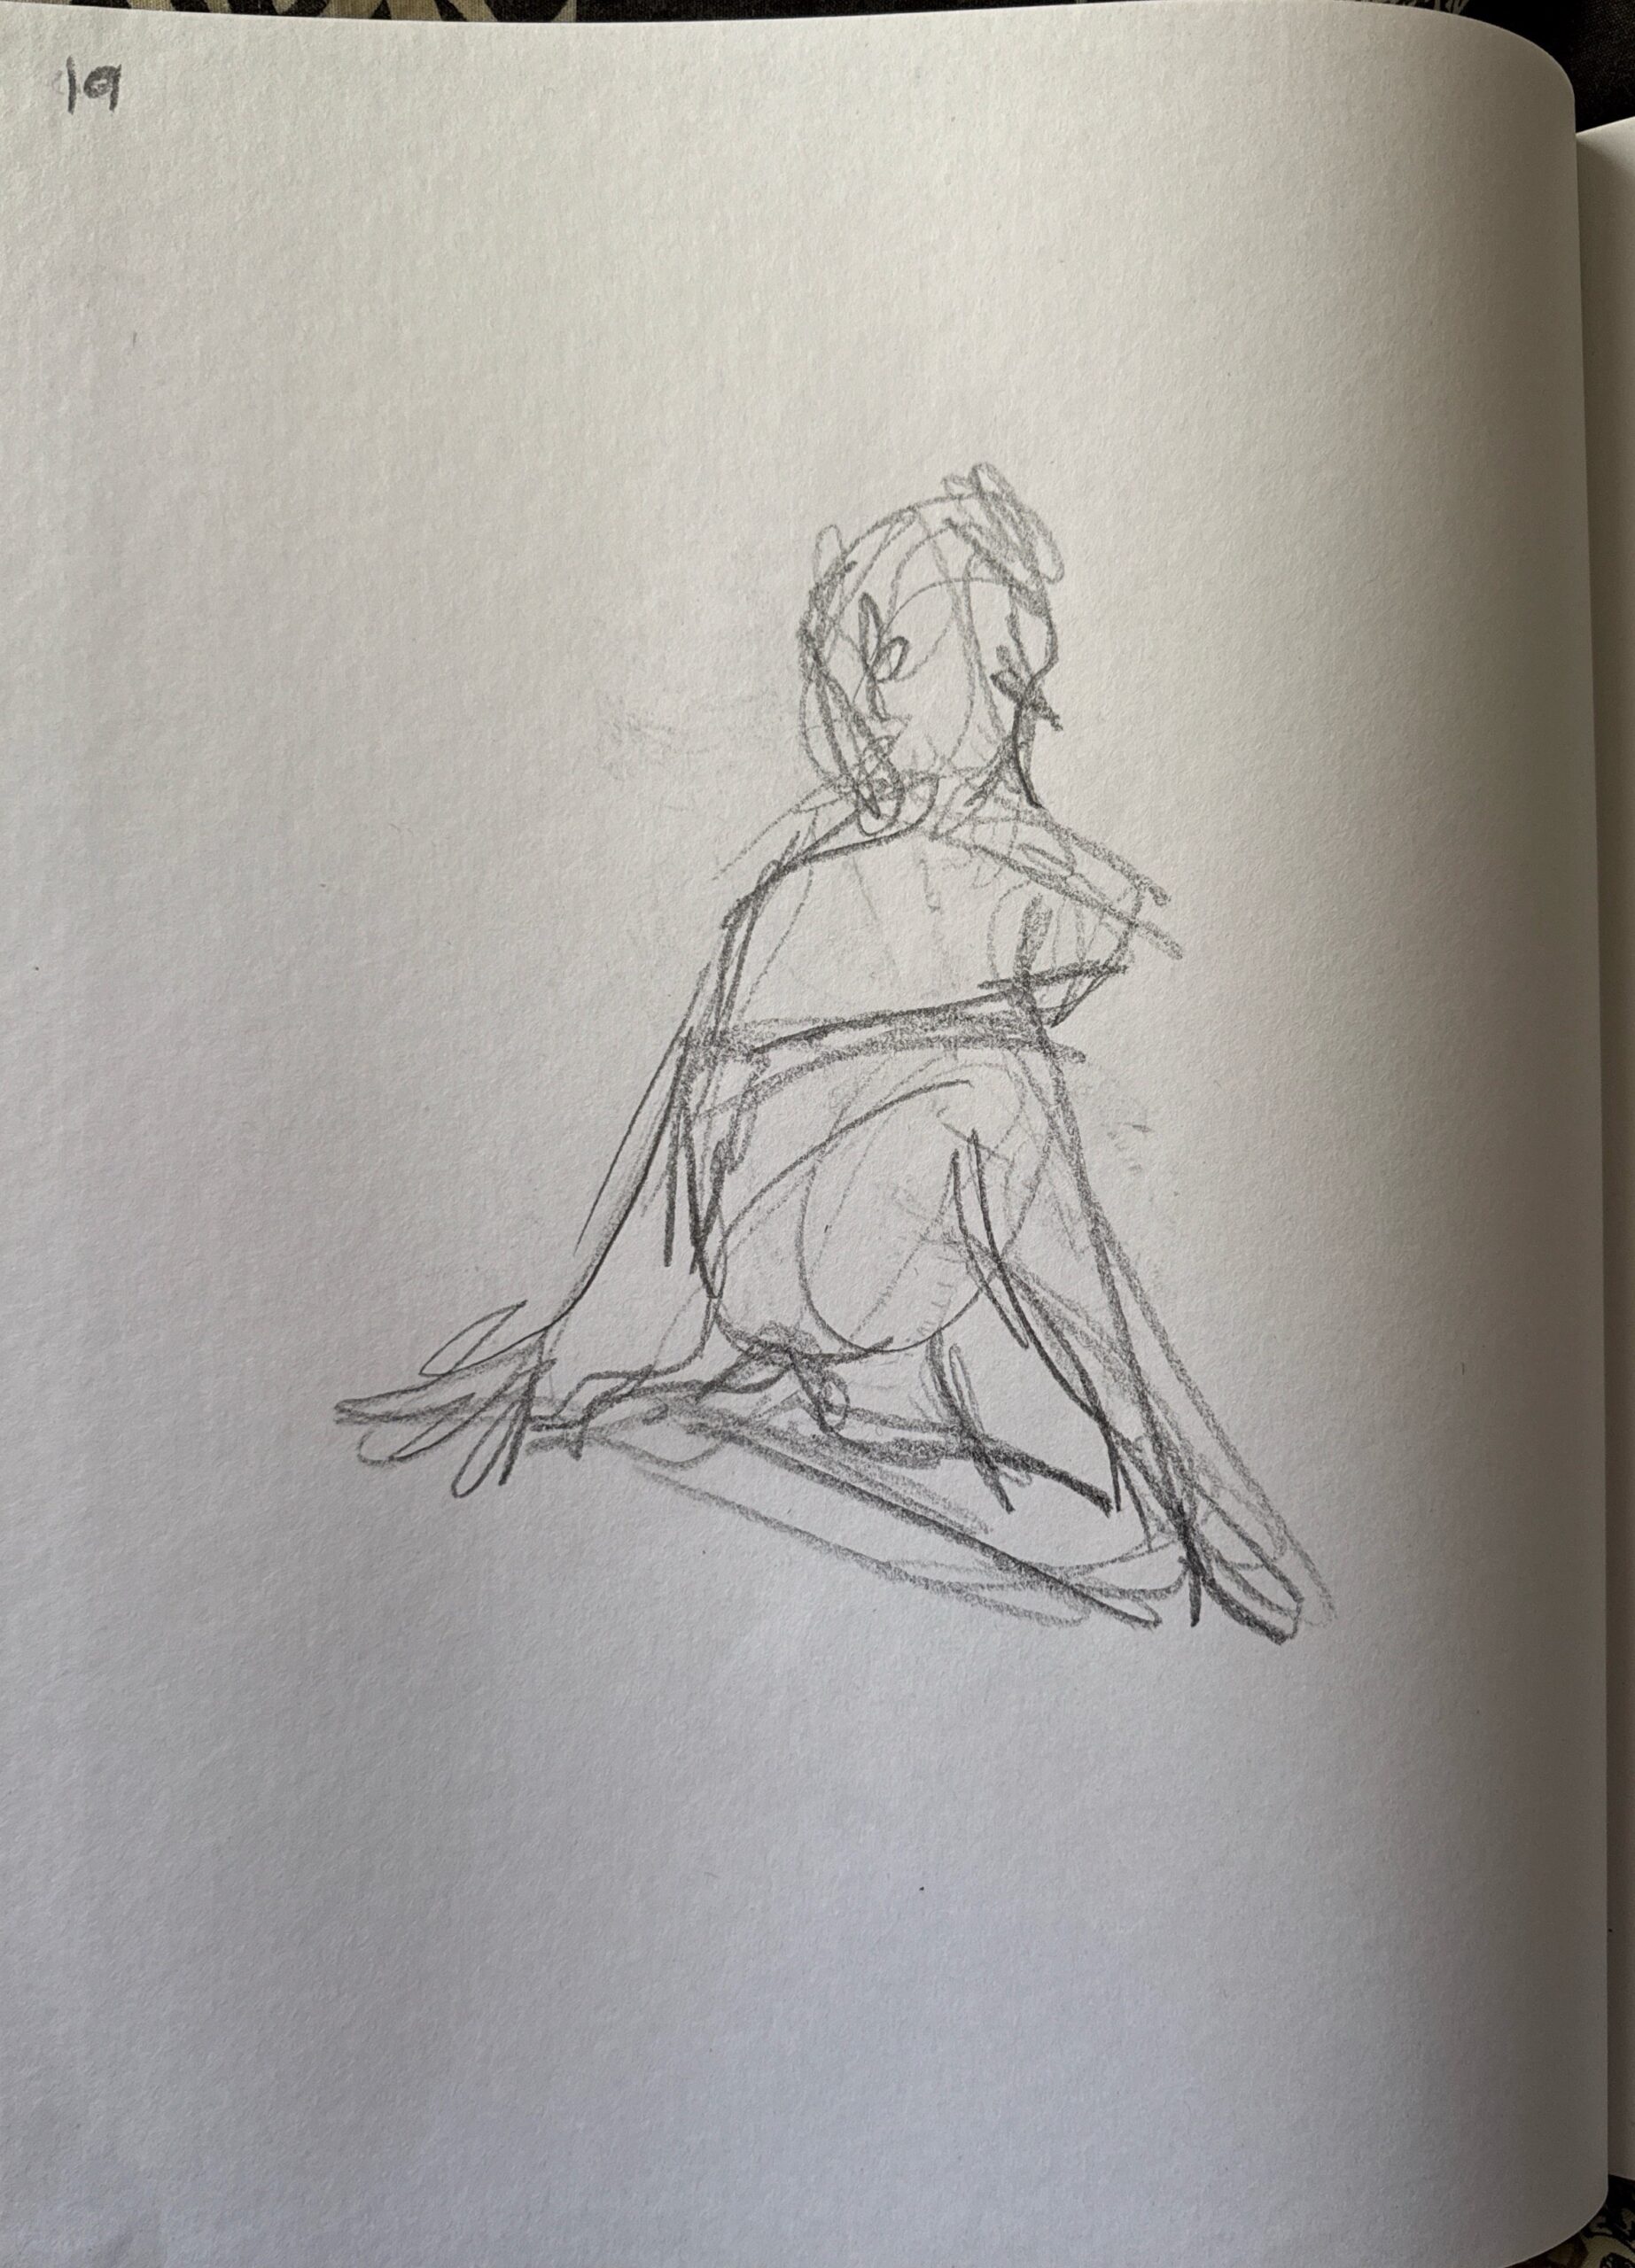
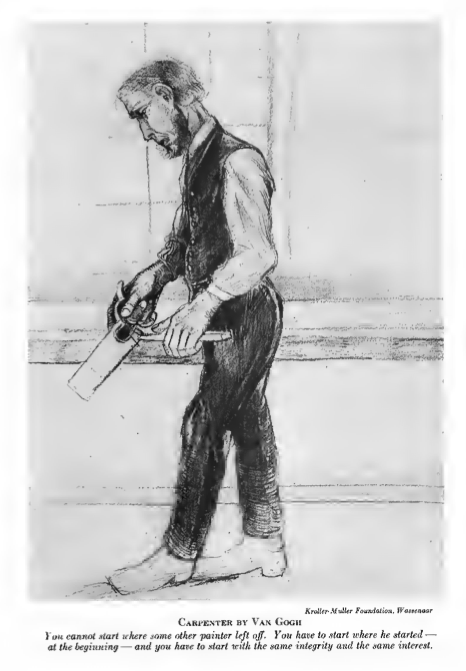
For the final part of the exercise, I tried to use a greater variety of media. These are OK but, I feel, they really show my lack of technical skills when it comes to drawing the figure. I can “get away” with loose marks but I am nowhere near feeling confident and “good at it”. Here I return to Nicolaides… and Van Gogh for inspiration.
Final thoughts
I really enjoy drawing the figure. It’s difficult to make time for live classes between work and family duties but I should try… I have too much on and envy the young ones who can devote all their time to their art practice! In terms of skills, I noticed that more time does not necessarily mean a better drawing and I should be more thoughtful about where to put my lines. I think I haven’t mastered the “in-between”, slowing down after a gesture drawing to be more precise. I still have too much energy in my movement but I try to control it and it loses its energy. I also noticed that how I am positioned with regards to my surface matters. I’m more comfortable drawing on a board on my laps than drawing standing up at my easel. Maybe I should practice at the easel more…